
User Profile Set Up, Adding Users & Access Levels ⚙️ 🛠️
Hello everyone! In this video, I walk you through the onboarding process for your user profile setup, which is crucial for navigating our system effectively. I've already created the users based on the emails you provided, but each user will need to complete additional steps once they gain access. I also discuss the importance of permissions and how to manage them, as well as connecting your calendars and video conferencing tools. Please make sure to follow along with the walkthroughs as we work on your account to ensure a smooth transition and setup.
User Profile Setup SOP
Objective
This SOP outlines the steps required to complete the setup of a user profile in the system, ensuring all necessary configurations are made for optimal use.
Key Steps
1. Accessing the User Profile Setup 1:00
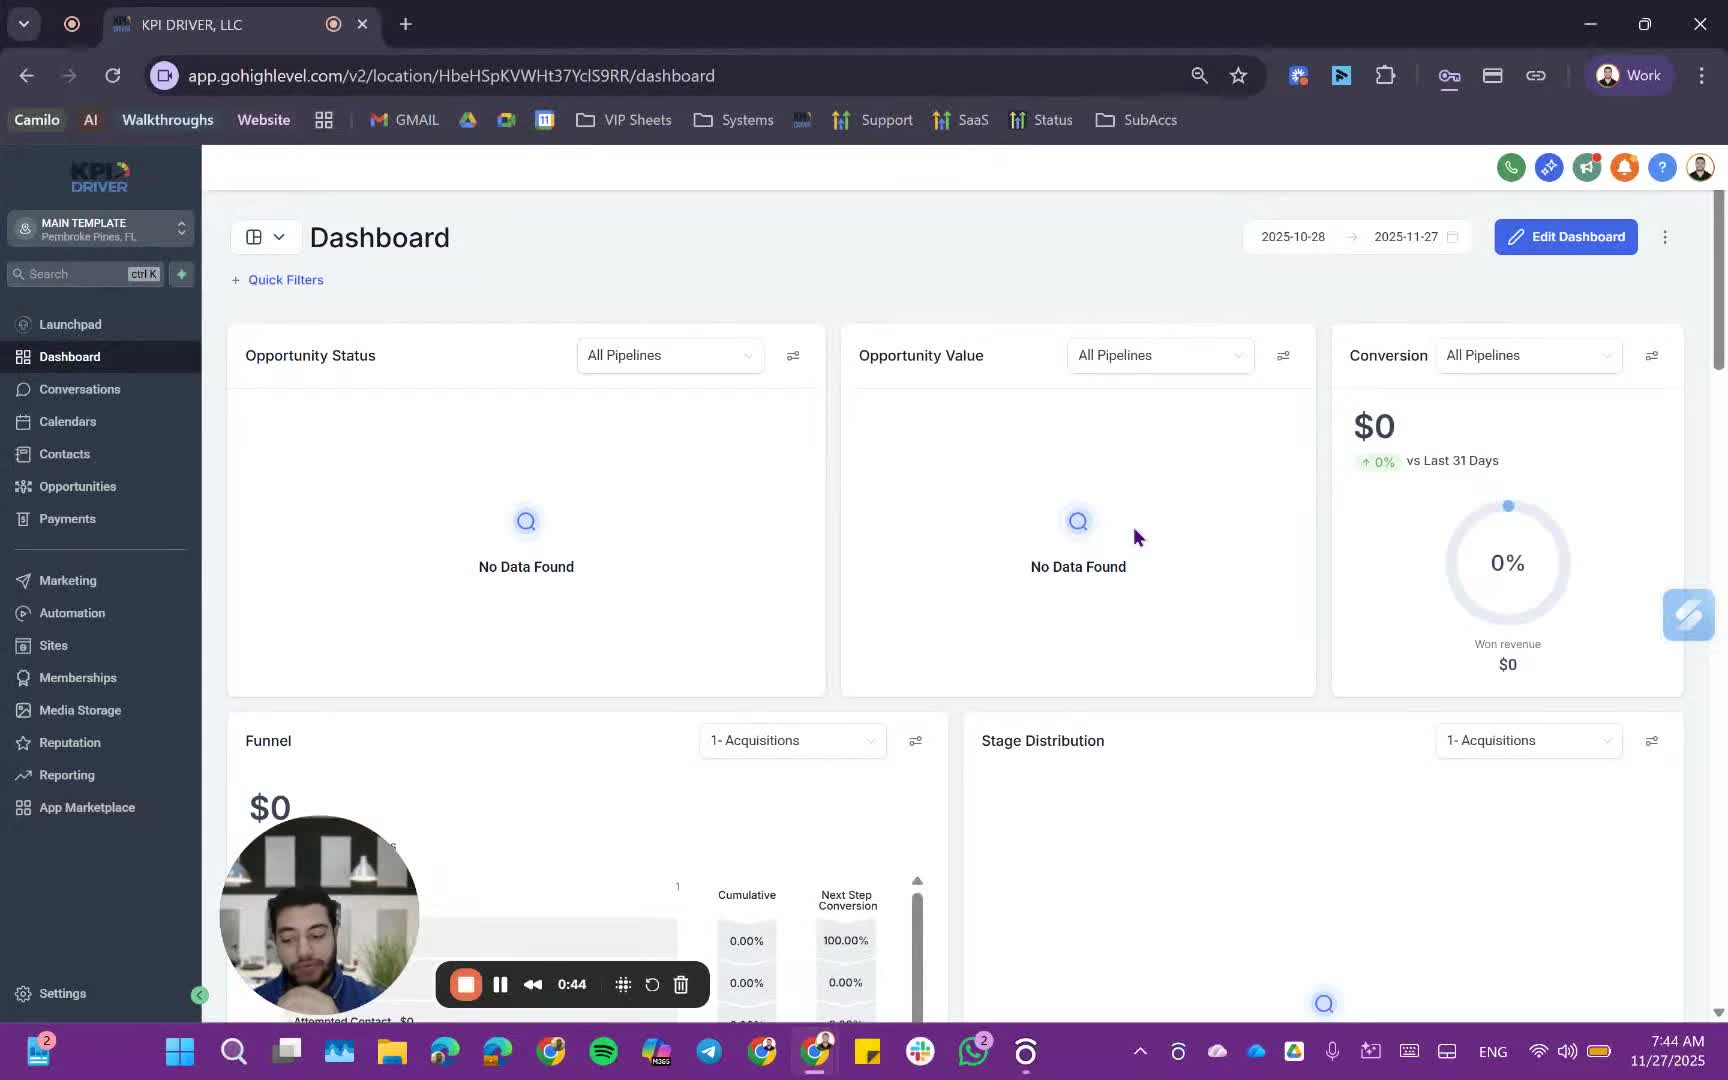
- Begin by logging into the admin view of the account.
- Ensure that all users have been created with the provided emails and passwords.
2. Adding a New User 1:08
- Navigate to the user management section.
- Click on 'Add User'.
- Enter the user's name and email address.
- Set a password for the user.
3. Assigning User Roles and Permissions 3:16
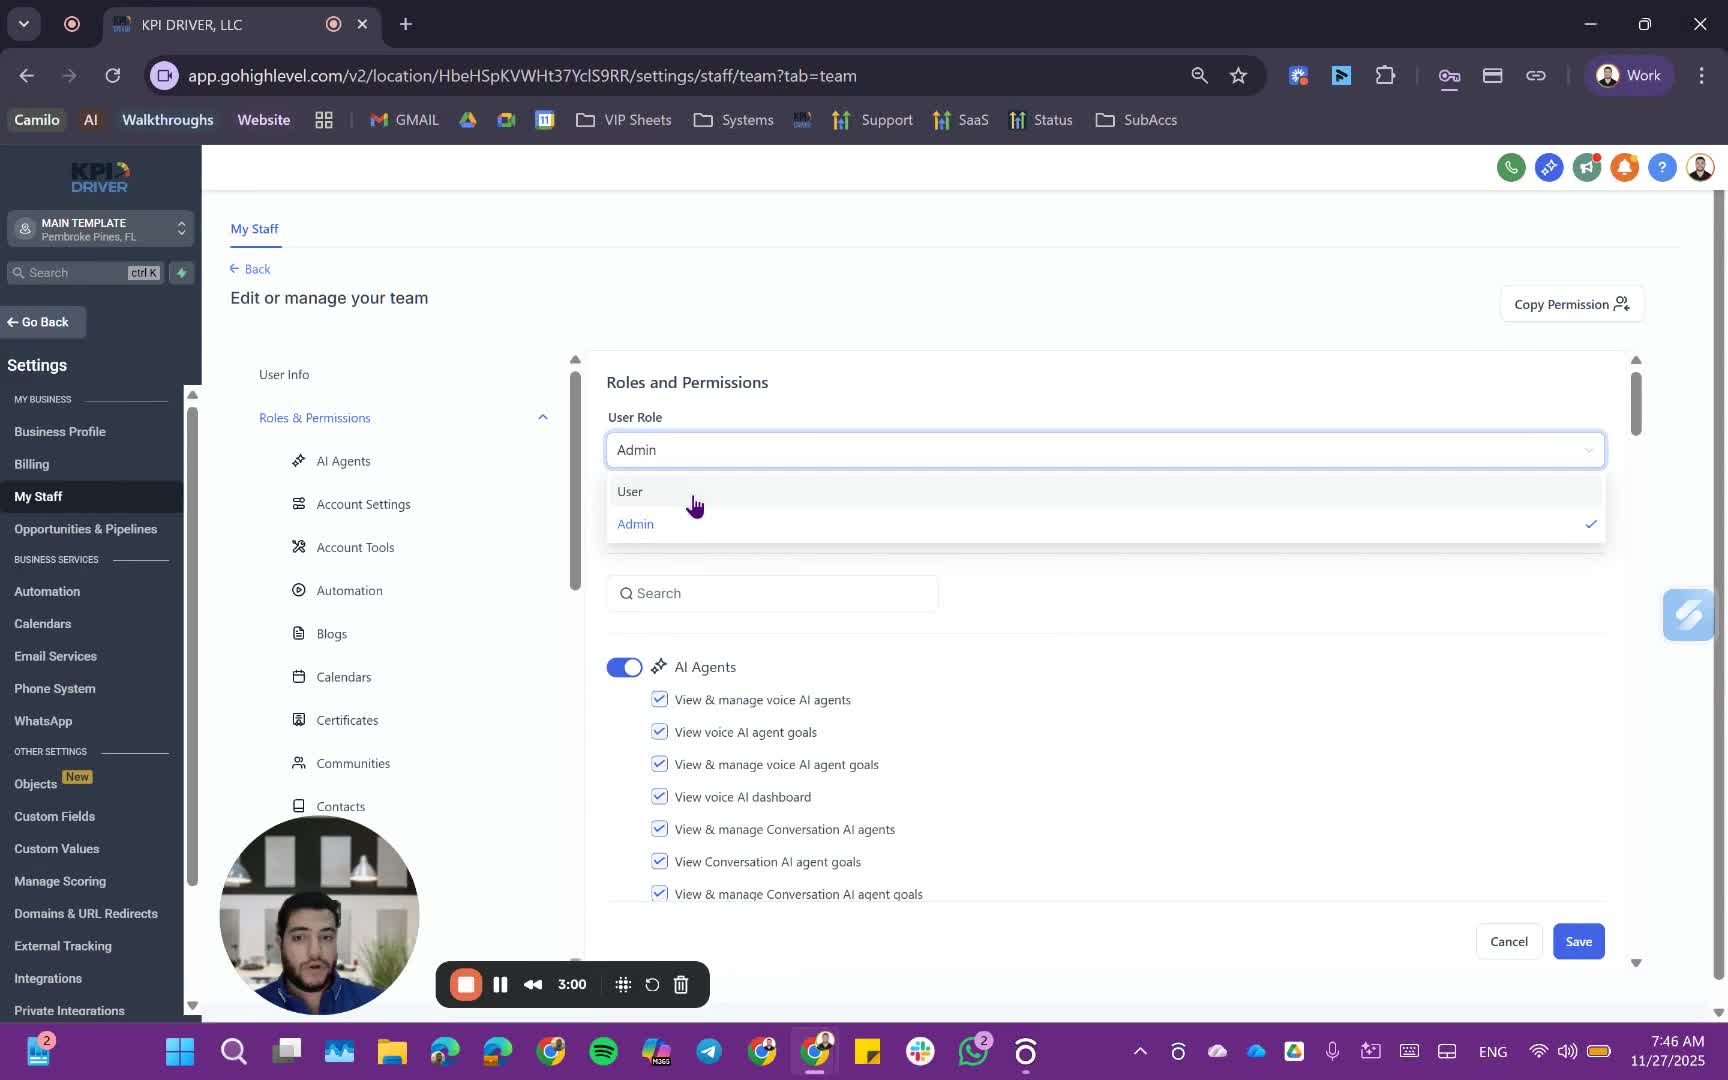
- Choose the role for the user (Admin or User).
- If necessary, restrict data visibility to only show contacts assigned to the user.
- Set permissions based on the role, copying from an existing user if applicable.
4. Saving the User Profile 6:07
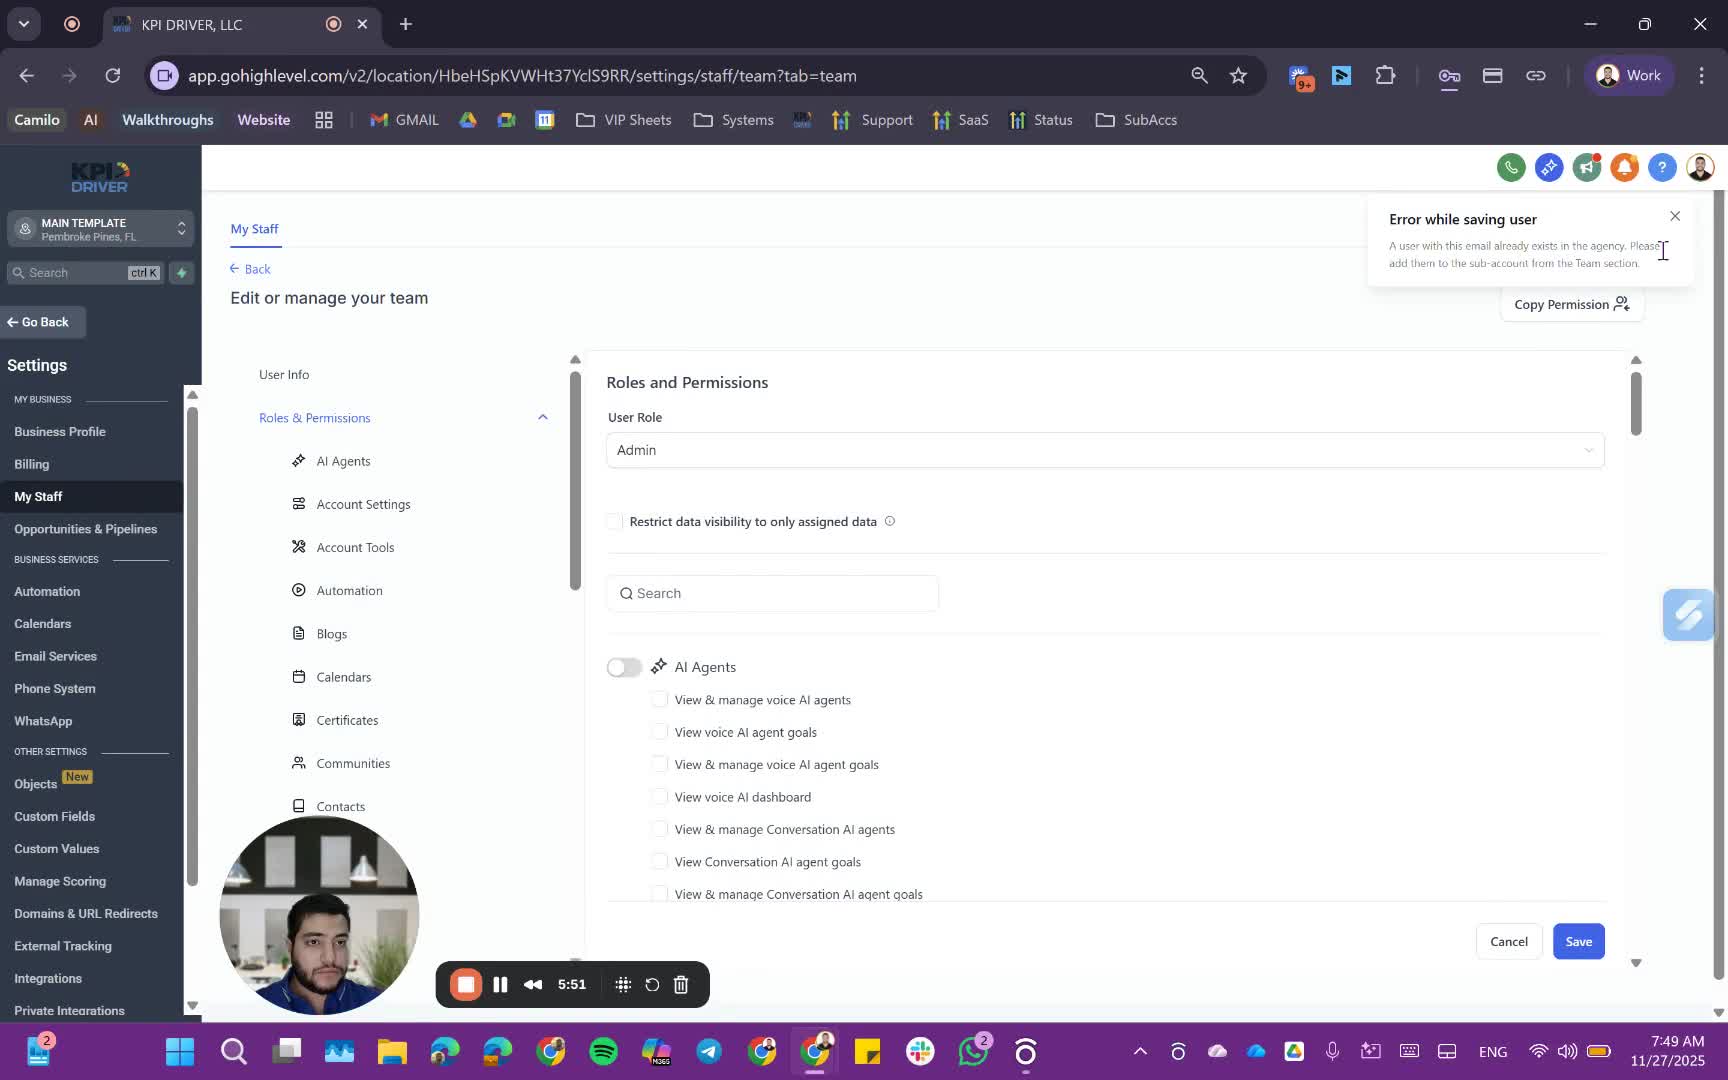
- After configuring the user settings, click 'Save' to create the user.
5. Activating the User Account 6:46
- The new user will receive an email prompting them to activate their account.
- Instruct the user to click the link in the email to log in.
6. Completing User Profile Setup 8:48
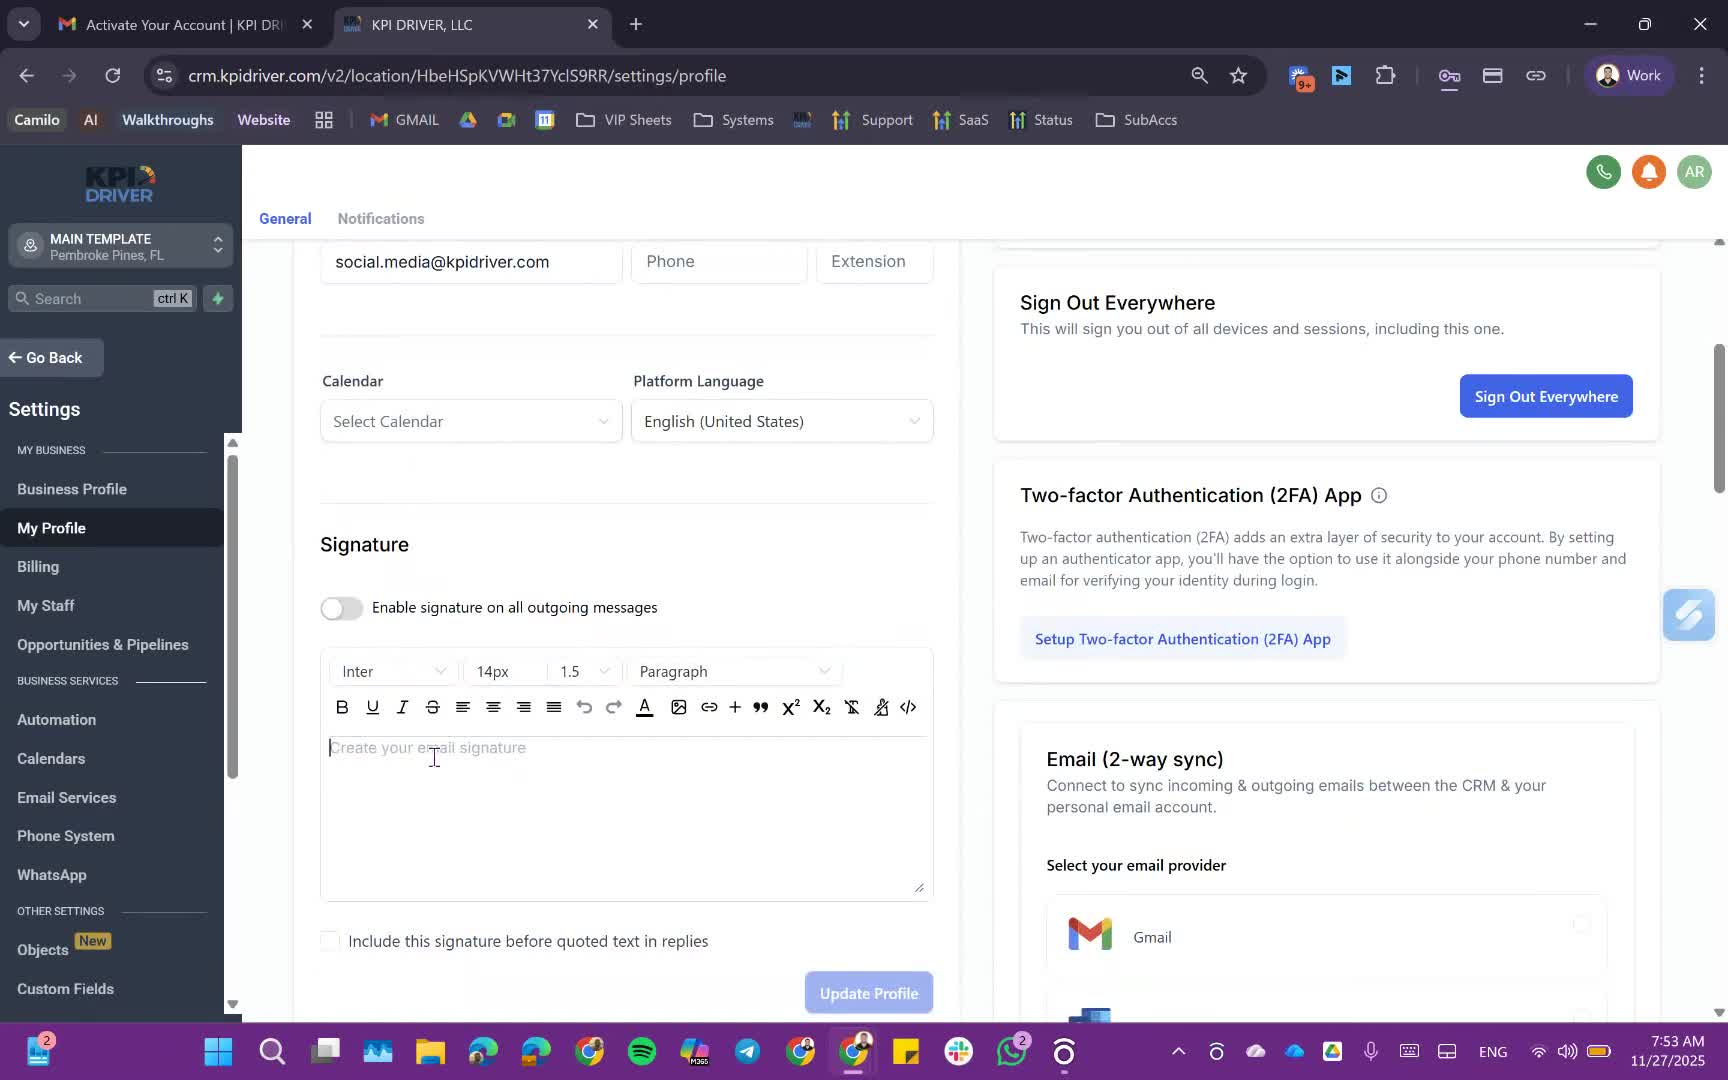
- Once logged in, the user should navigate to 'My Profile'.
- Update the password, add a profile image, and set up an email signature.
7. Connecting Email and Calendar 9:15
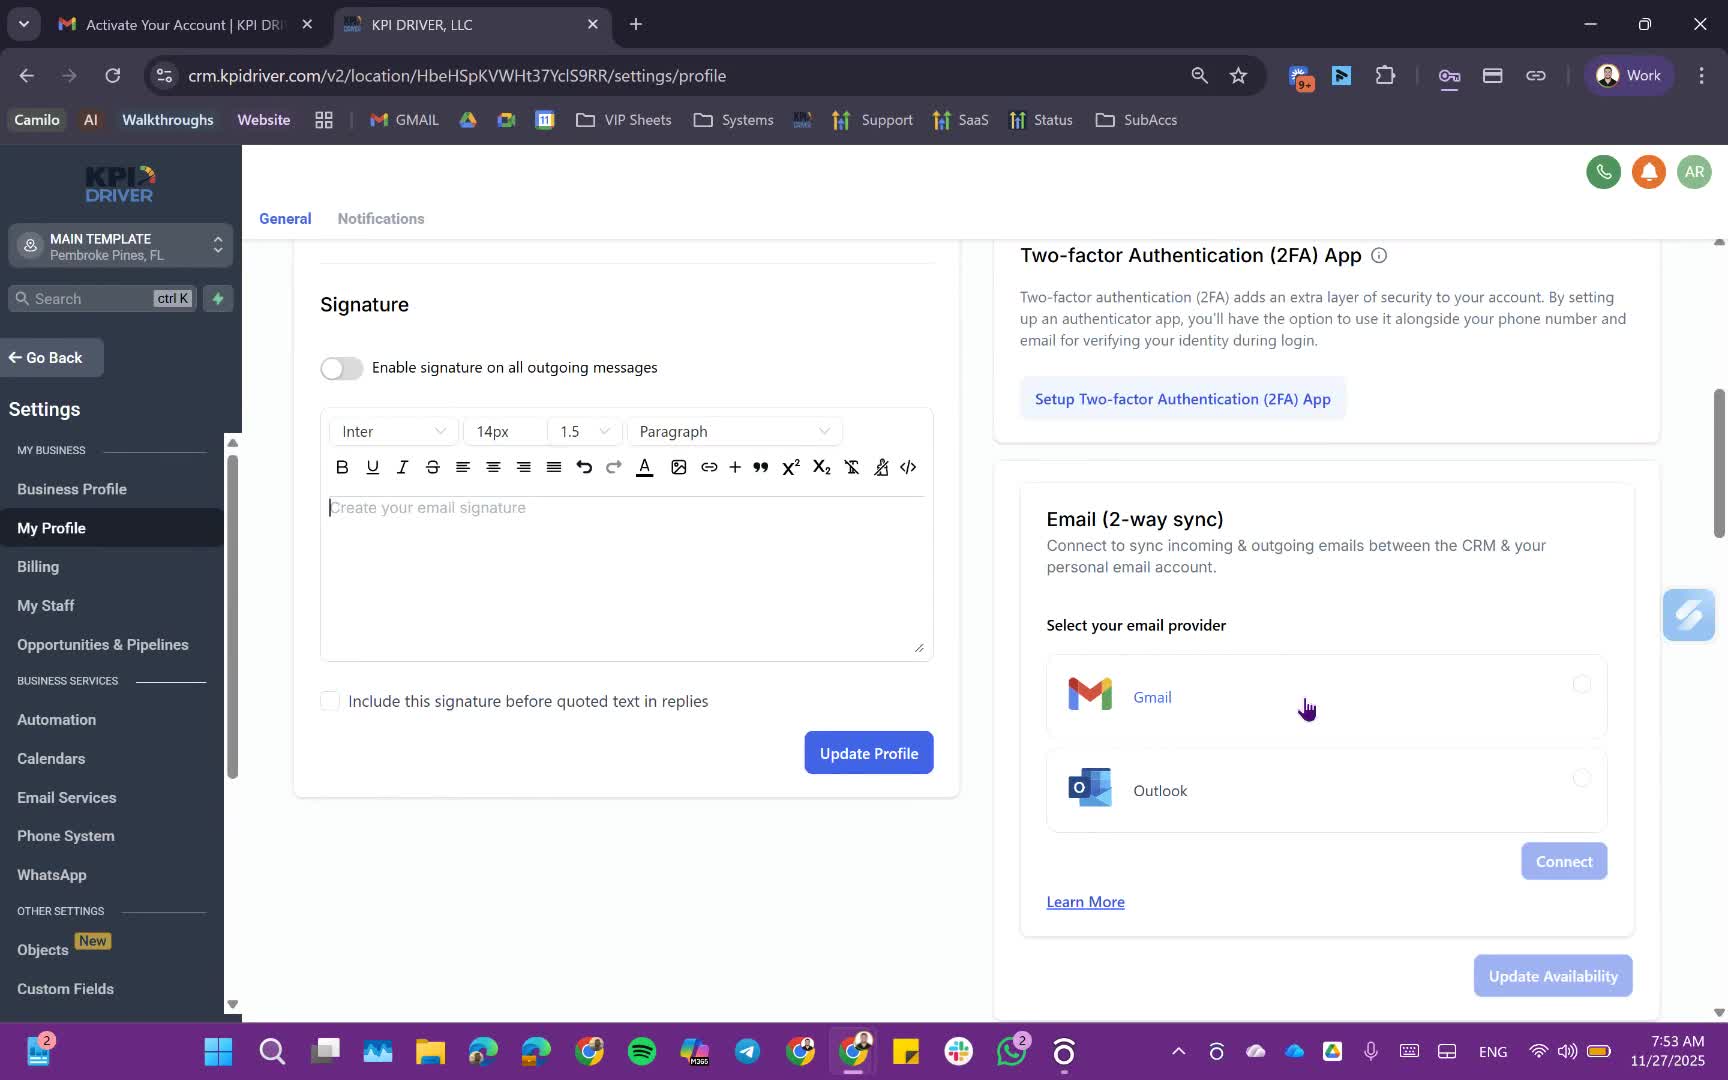
- Enable two-way email sync to receive emails sent from the system.
- Connect Google Calendar to avoid scheduling conflicts.
8. Setting Up Video Conferencing 11:20
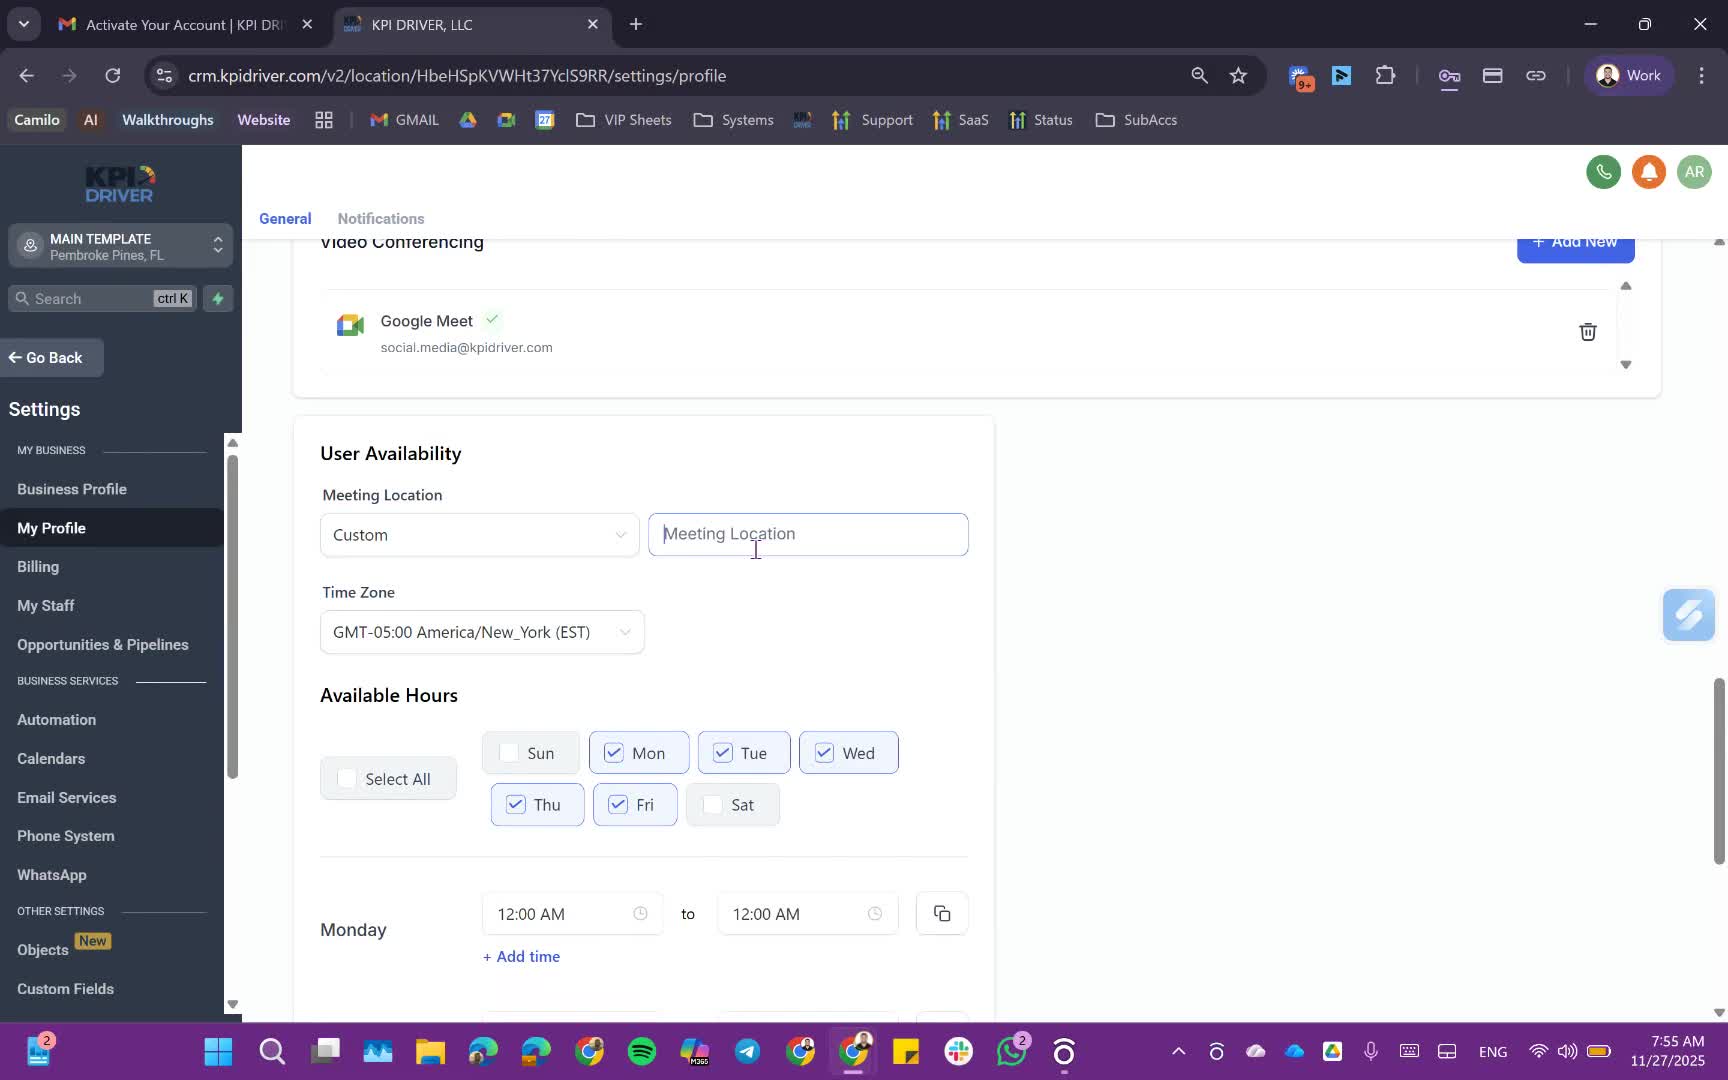
- Choose a preferred video conferencing tool (Google Meet, Zoom, etc.) for meetings.
9. Configuring Work Hours and Notifications 11:40
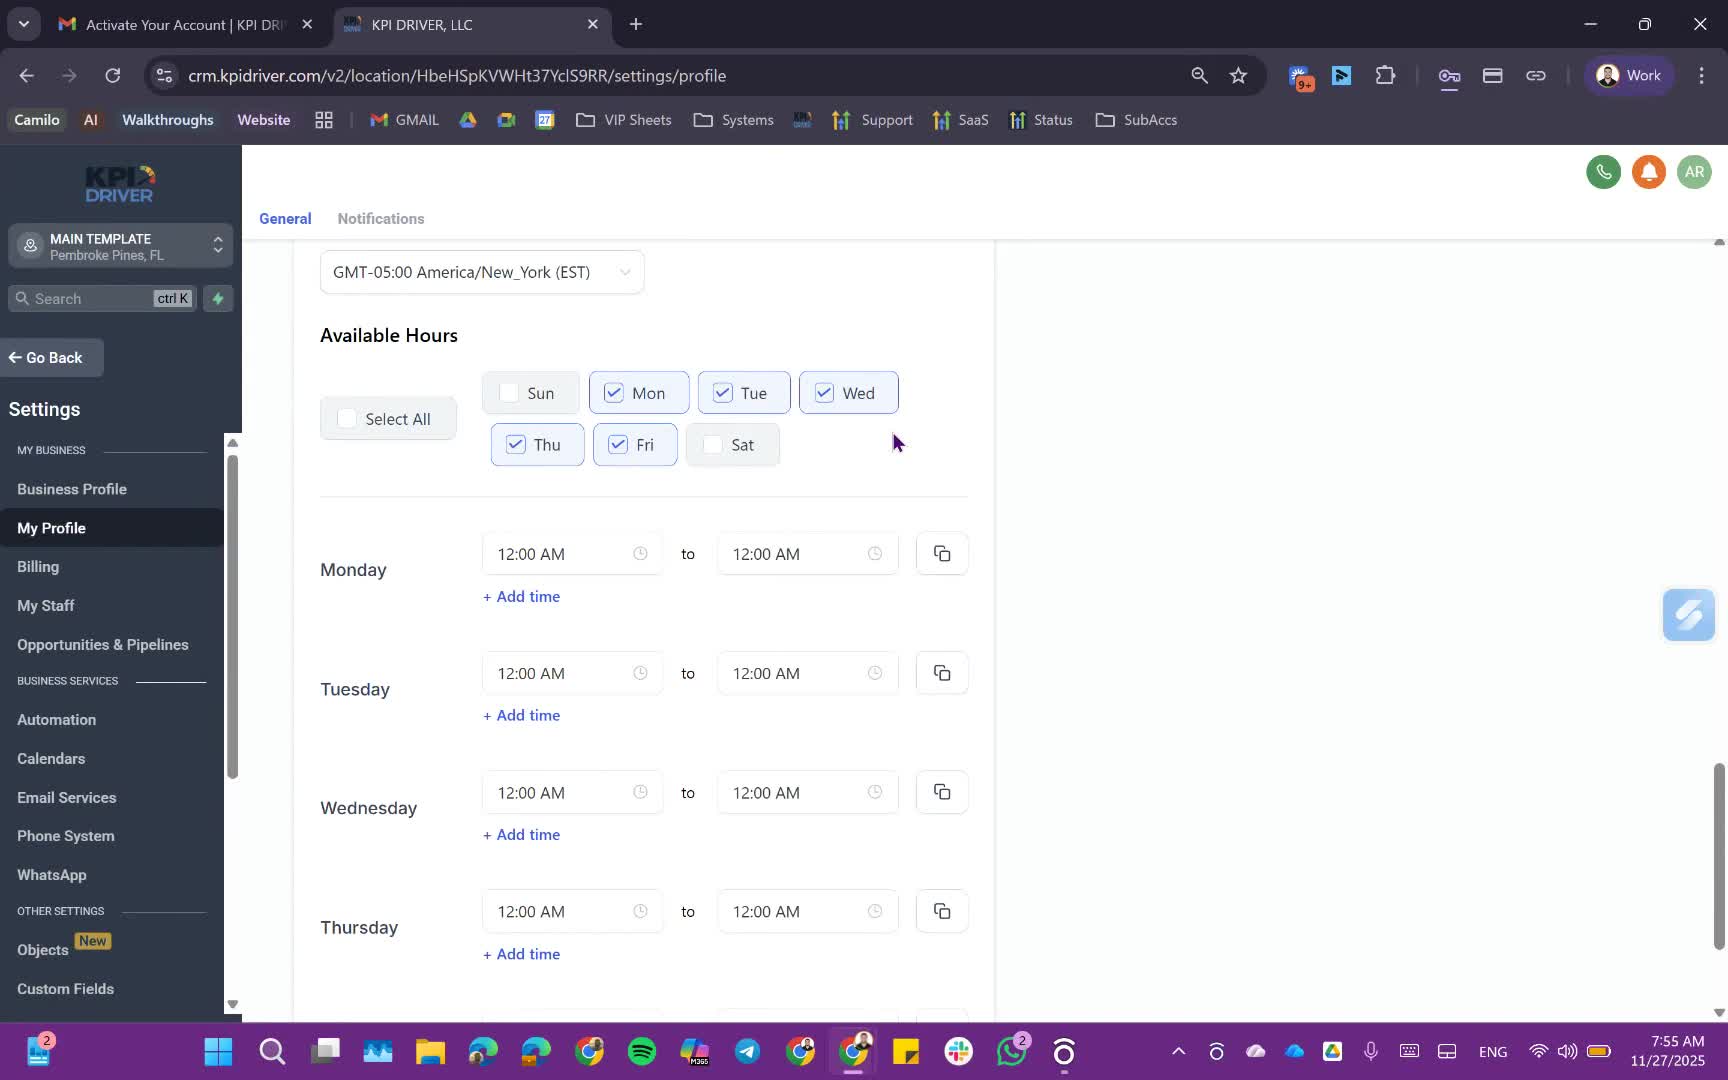
- Set the user's working hours and time zone.
- Configure notification preferences for tasks and reminders.
Cautionary Notes
- Ensure that sensitive permissions are only granted to users who require them.
- Regularly review user access and permissions to maintain security.
Tips for Efficiency
- Encourage users to sign in with Google for quicker access.
- Use existing user permissions as templates to save time when adding new users.
Link to Loom
https://loom.com/share/1c26905ca68140558c1cc5bf8cec82f8
Articles
Other Related Articles
FAQ
FAQ
What makes KPI DRIVER different from other real estate CRMs?
Do I need separate systems for document signatures, dispo, or rentals?
How long does it take to migrate my CRM to KPI DRIVER?
Will KPI DRIVER work if I’m new to real estate or don’t have a CRM yet?
Is the KPI Dashboard customizable?
How does KPI DRIVER help me scale my business?
Do you offer support or training?
How many leads, calls, and deals can KPI DRIVER handle?
How much does KPI DRIVER cost?

@KPI DRIVER LLC 2025. All Rights Reserved.
Design and developed by YAVACADO