
Pre-Migration Call 📊
In this video, I want to guide you through the important steps of migrating your datasets. If you have data to move, start by cleaning up your files—remove unnecessary column headers and dead leads, focusing only on the important prospects. I’ll show you how to export from our system, ensuring you only keep the necessary fields. During our upcoming call, we’ll match your CSV file with our system’s fields and discuss any additional fields that may need to be added. Please prepare your cleaned CSV file for our discussion.
Data Migration Standard Operating Procedure
Objective
This SOP outlines the steps for migrating datasets from one CRM to another, ensuring a clean and efficient transfer of important data.
Key Steps
Step 1: Export Data from CRM 0:30
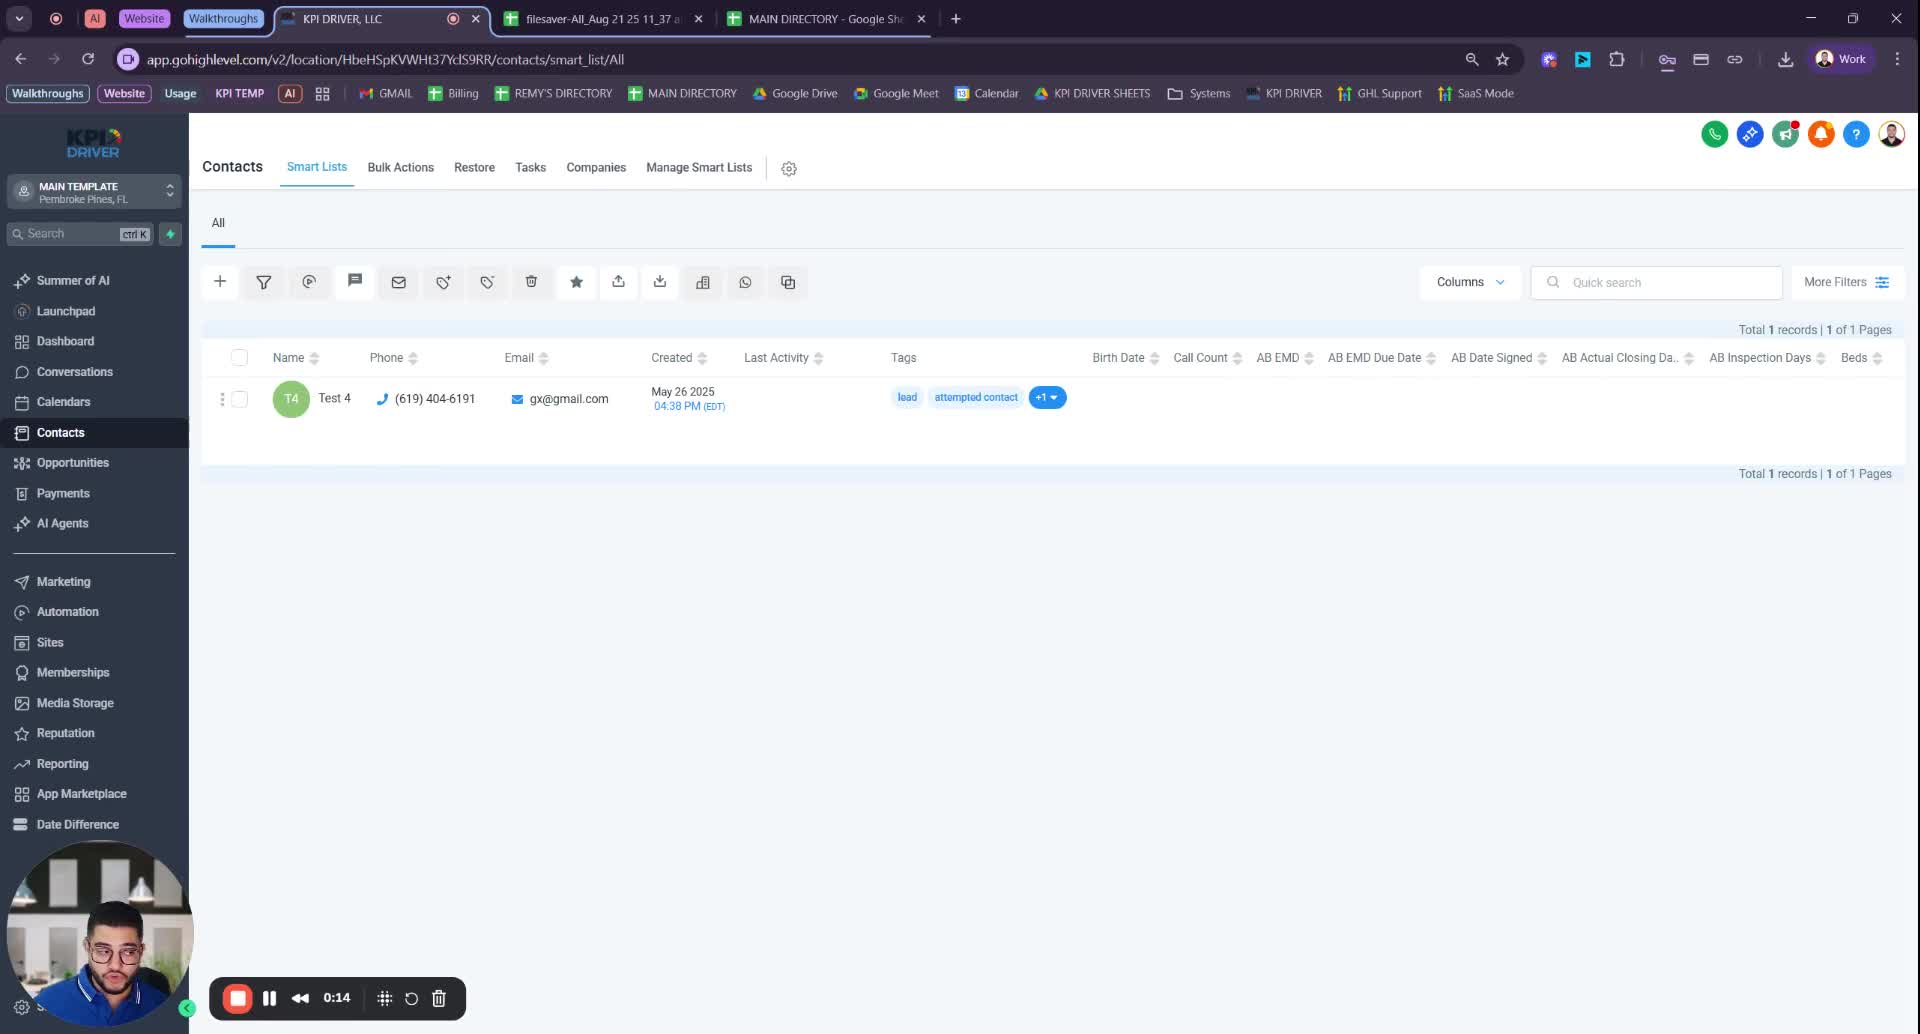
- Identify the CRM system you are using (e.g., High Level, Podium).
- Locate the export option within the CRM.
- If using Google Sheets, prepare to export as CSV.
Step 2: Clean Up Data 0:52
- Remove unnecessary column headers and fields that are not needed.
- Keep only the fields that contain important details relevant to your work.
Step 3: Filter Out Dead Leads 1:11

- Identify and remove dead leads from your dataset.
- Retain only important prospects that may still have potential.
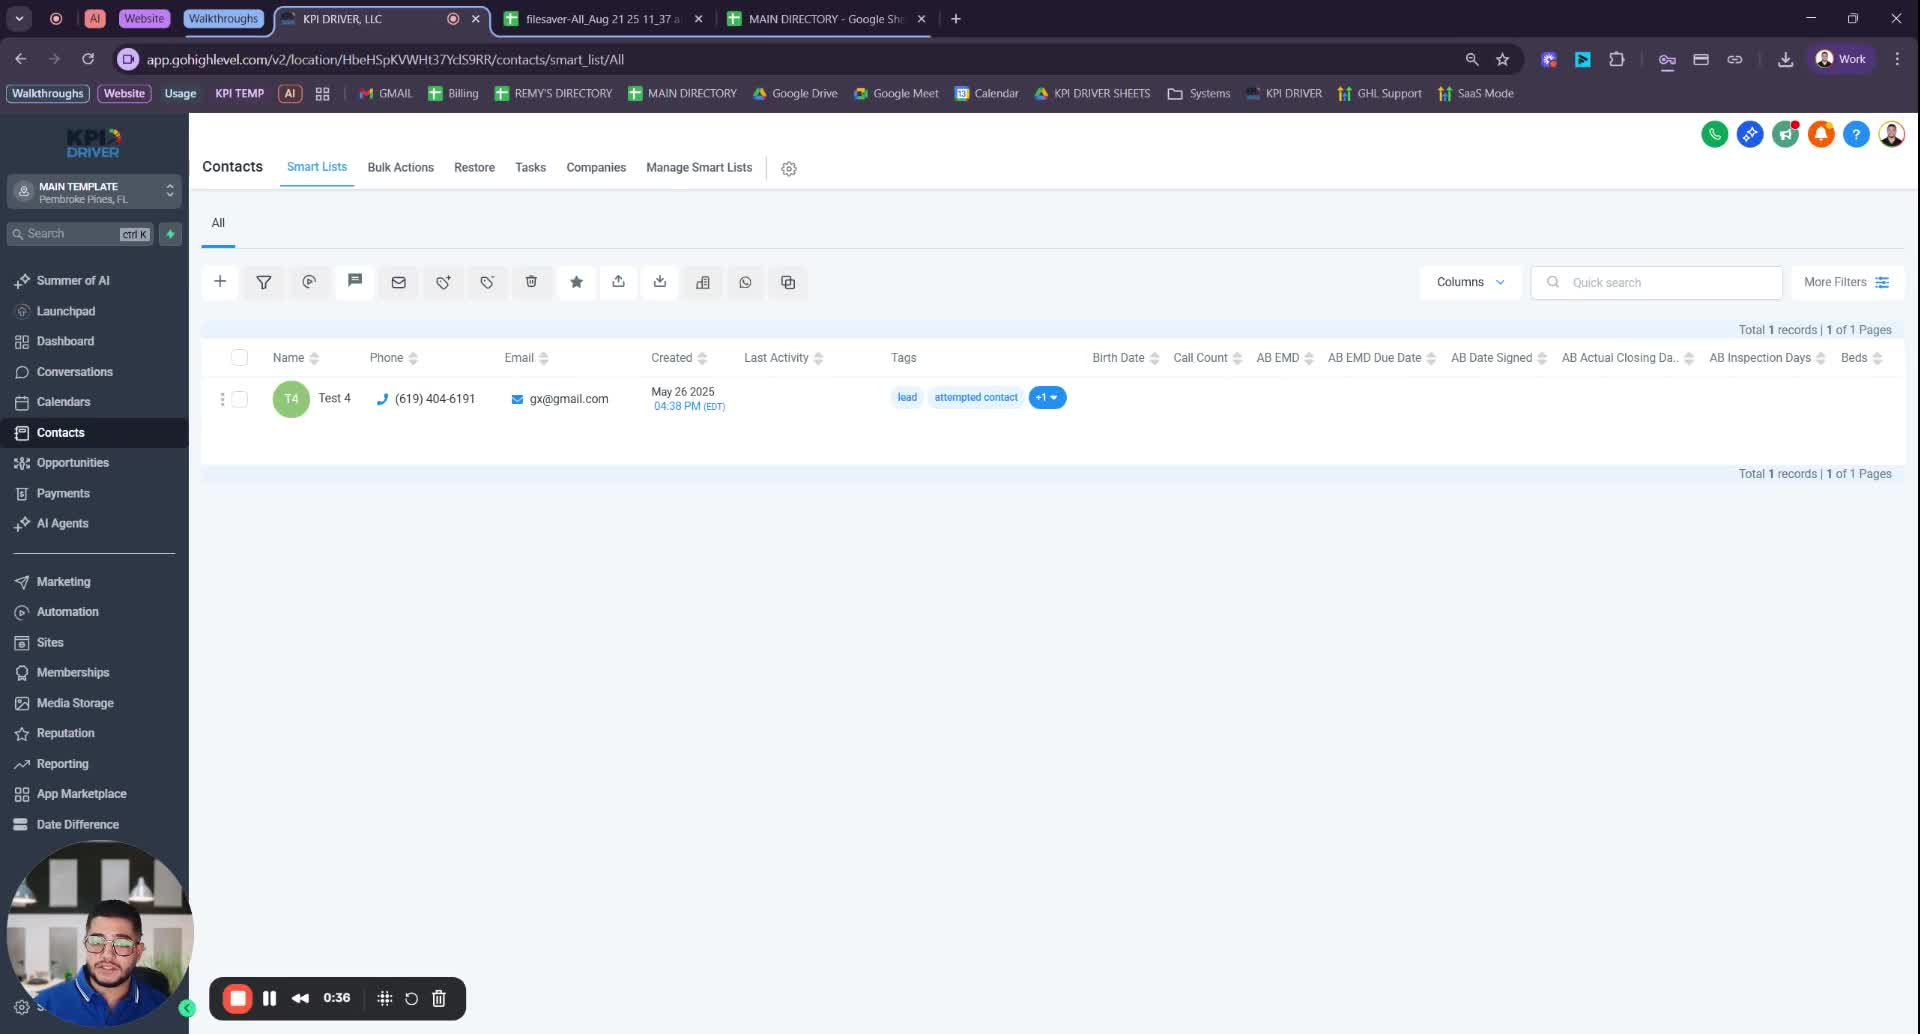
Step 4: Choose Fields to Export 1:42

- If your CRM allows, select only the necessary fields to export.
- For example, in High Level, choose the columns you deem necessary before exporting.
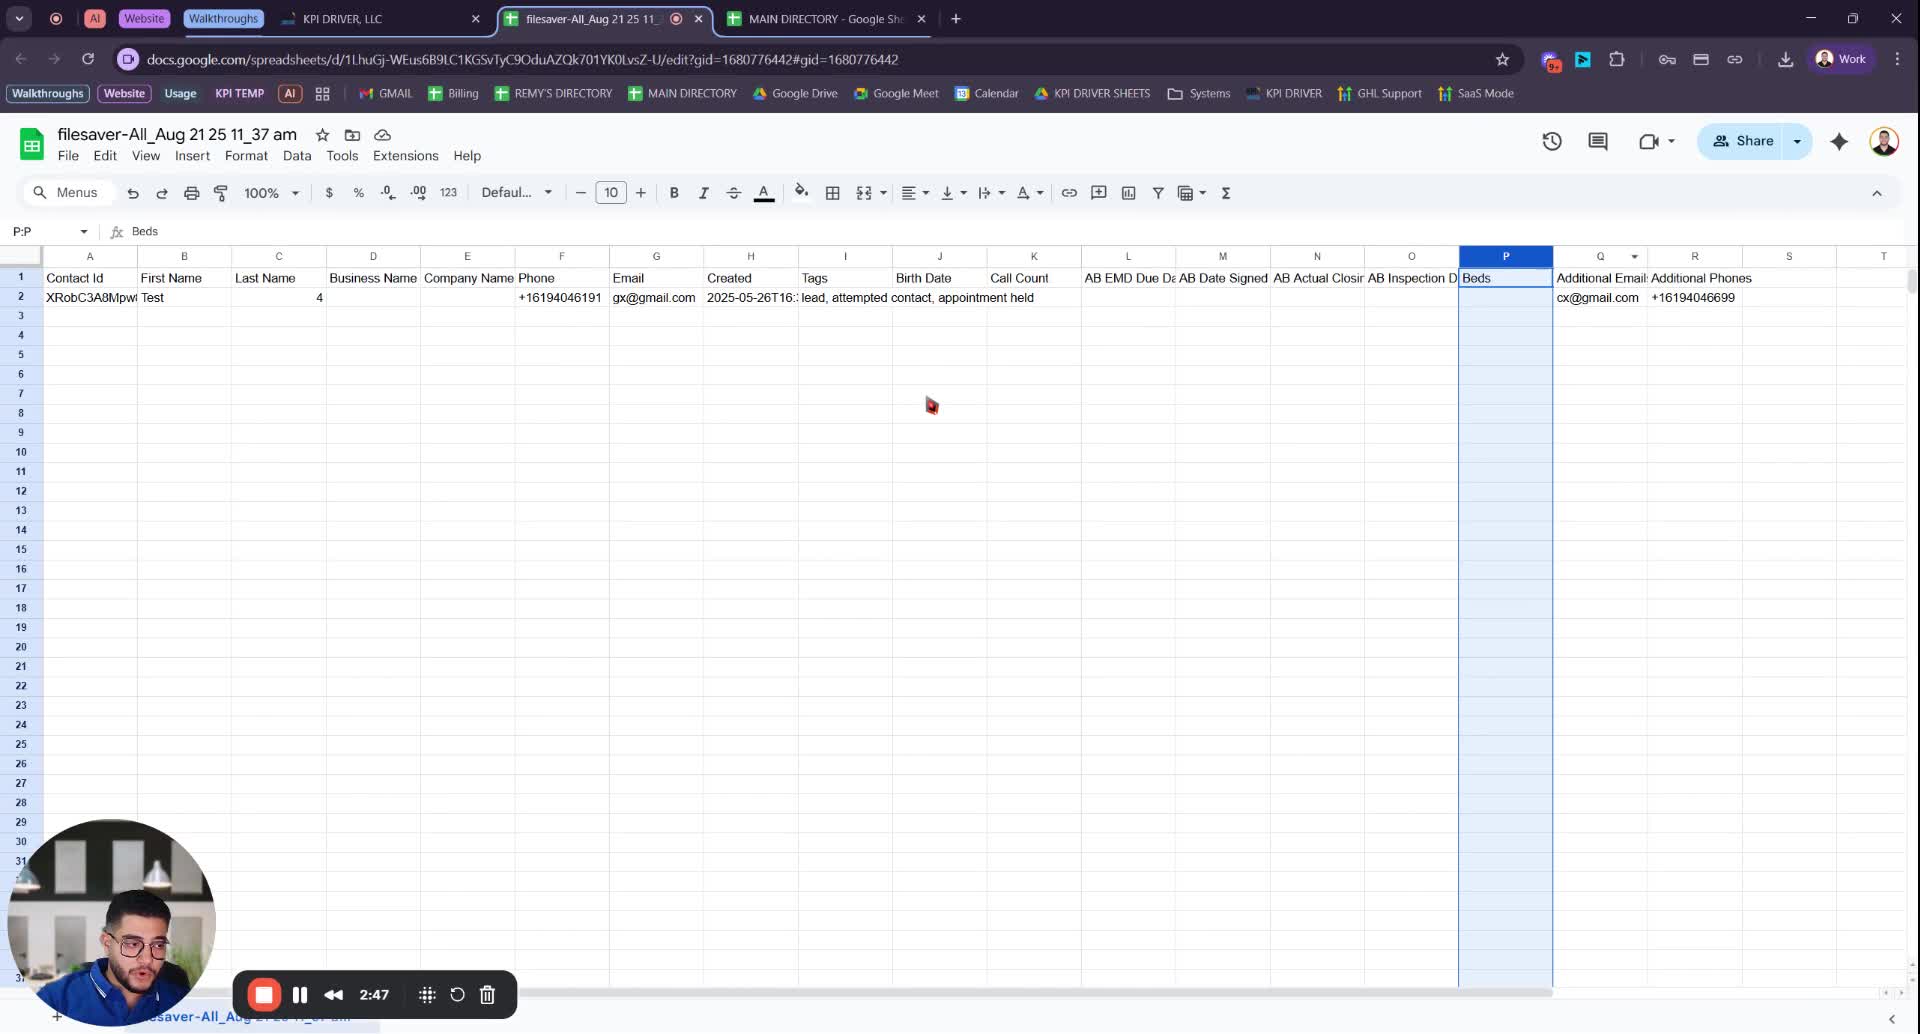
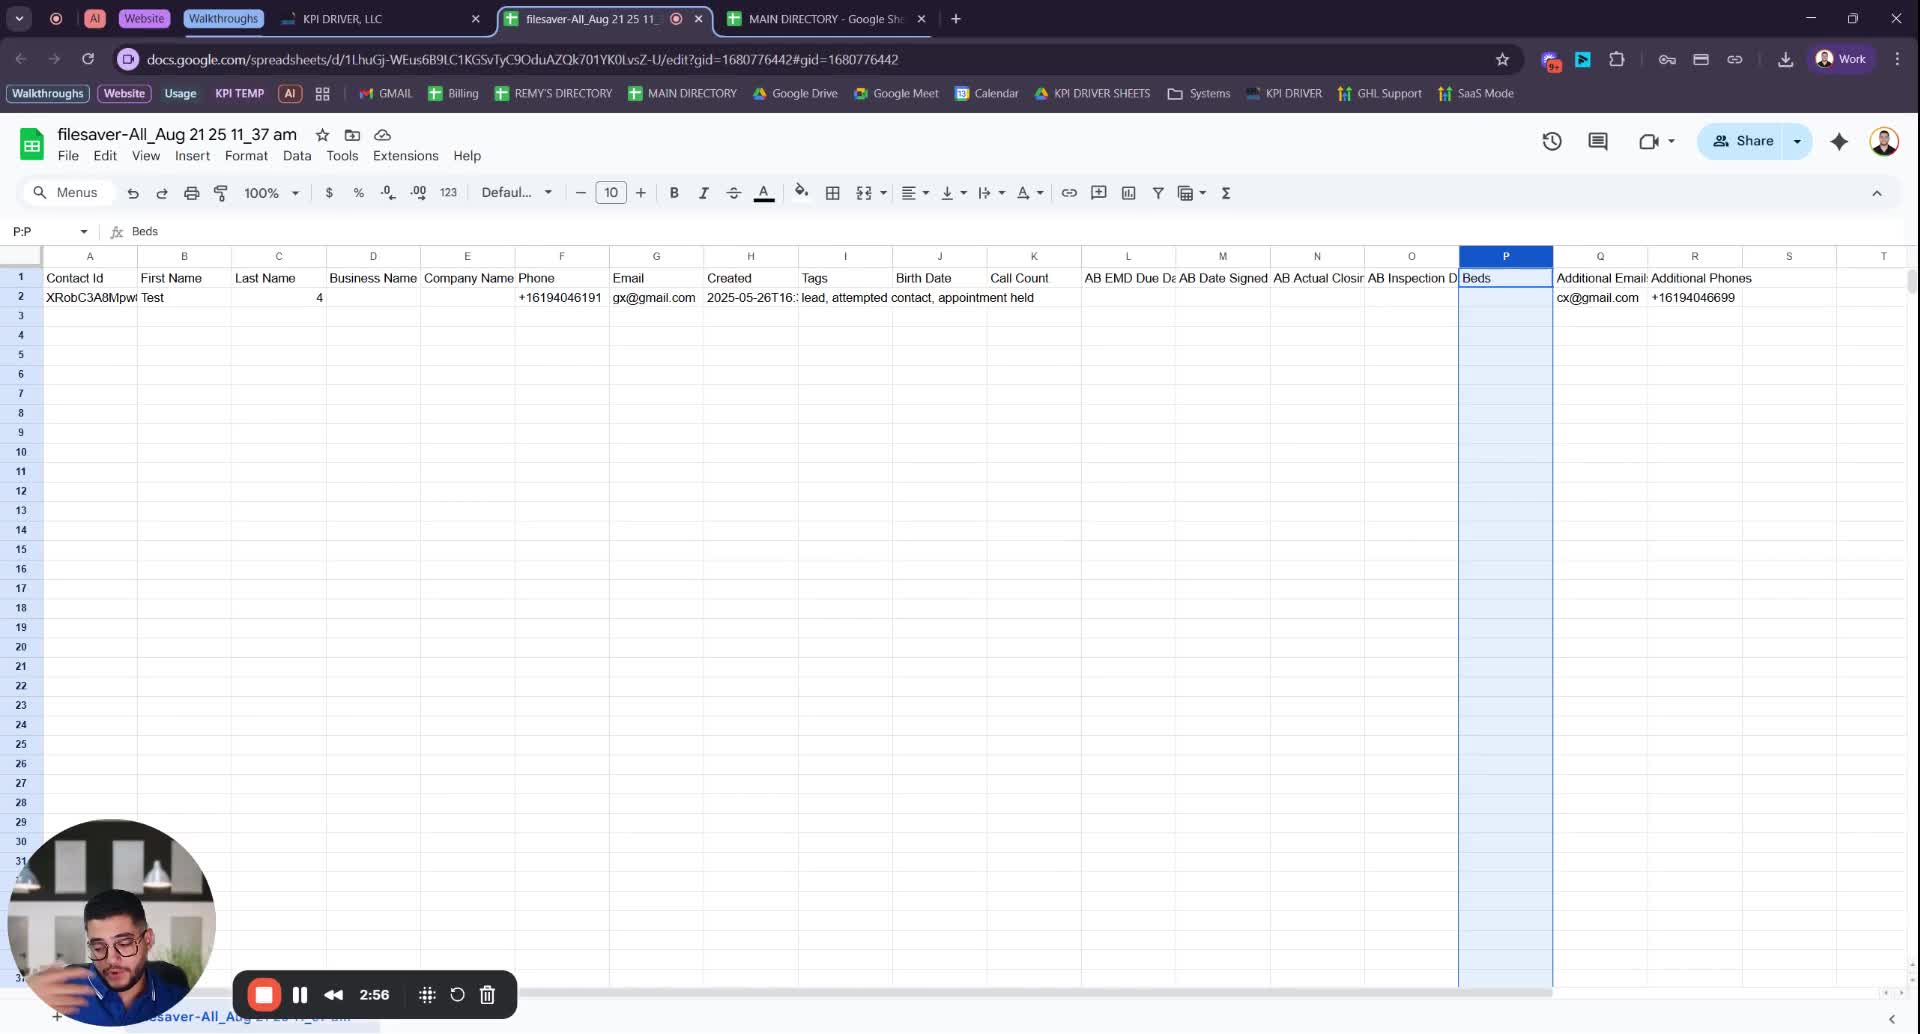
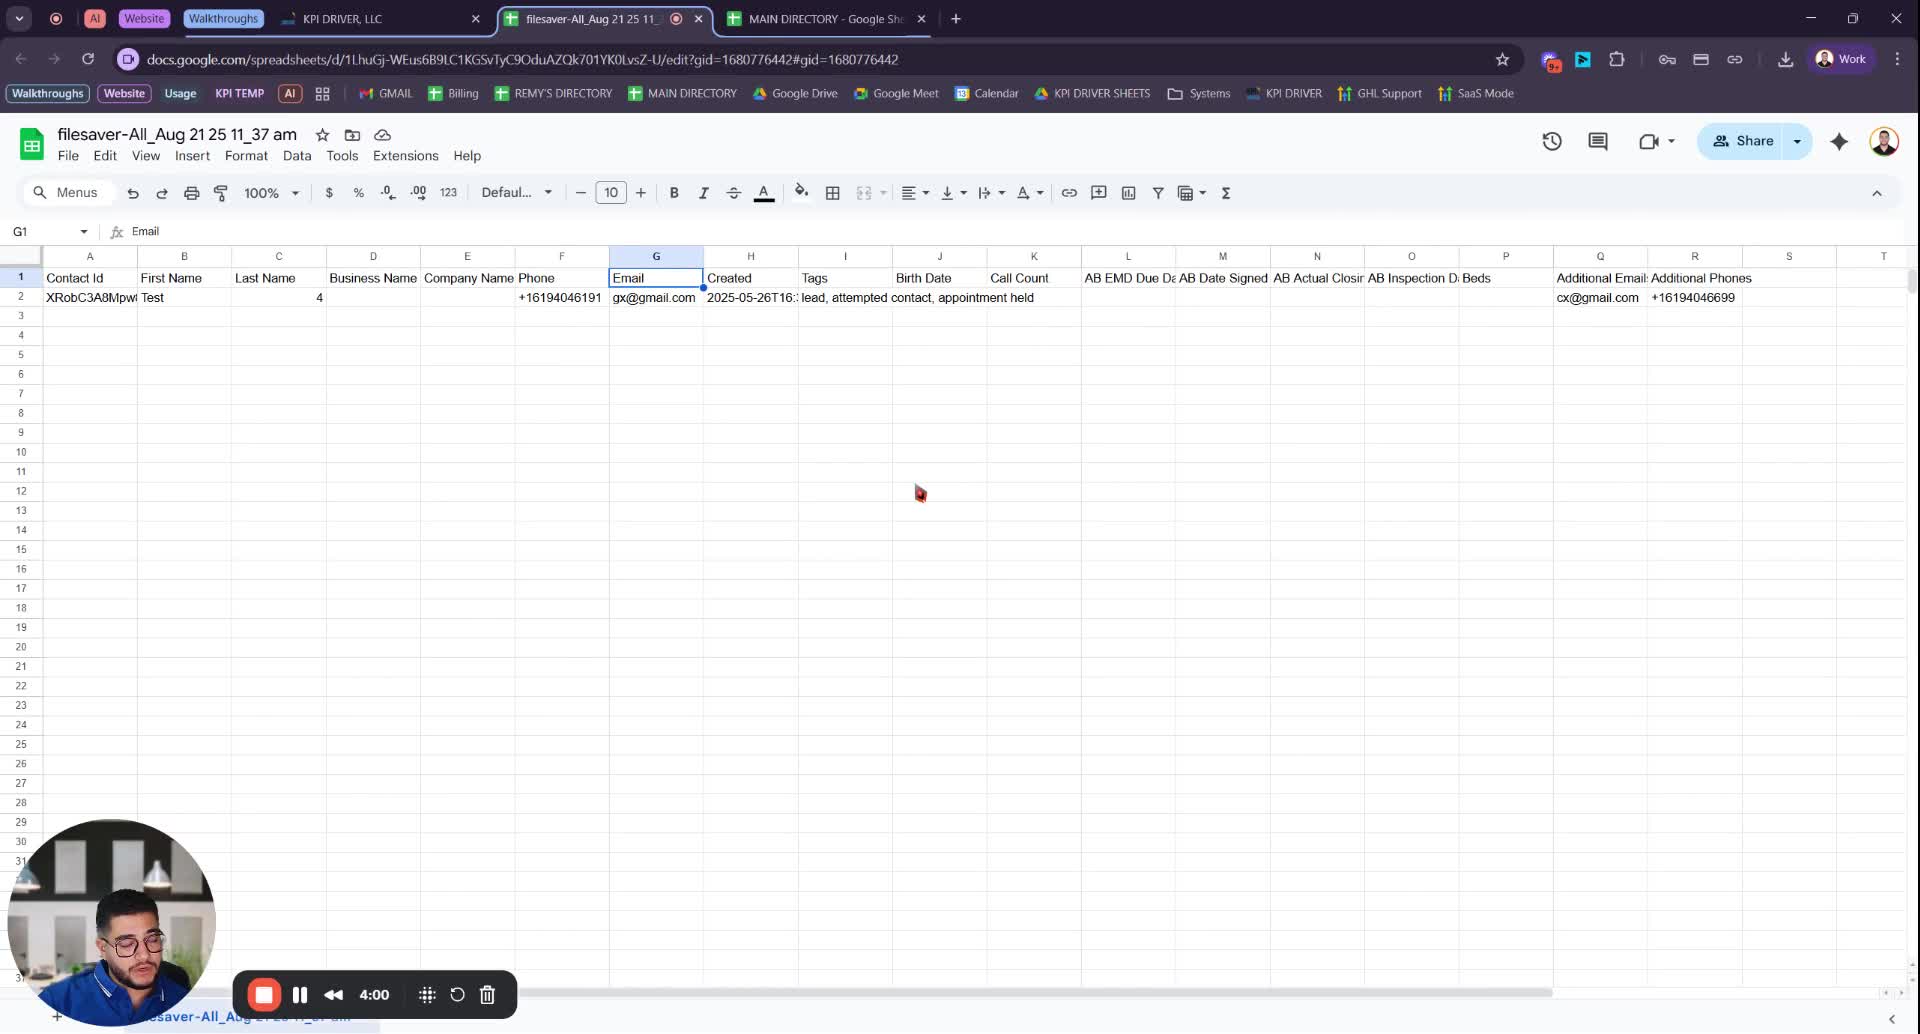
Step 5: Review Exported File 2:17
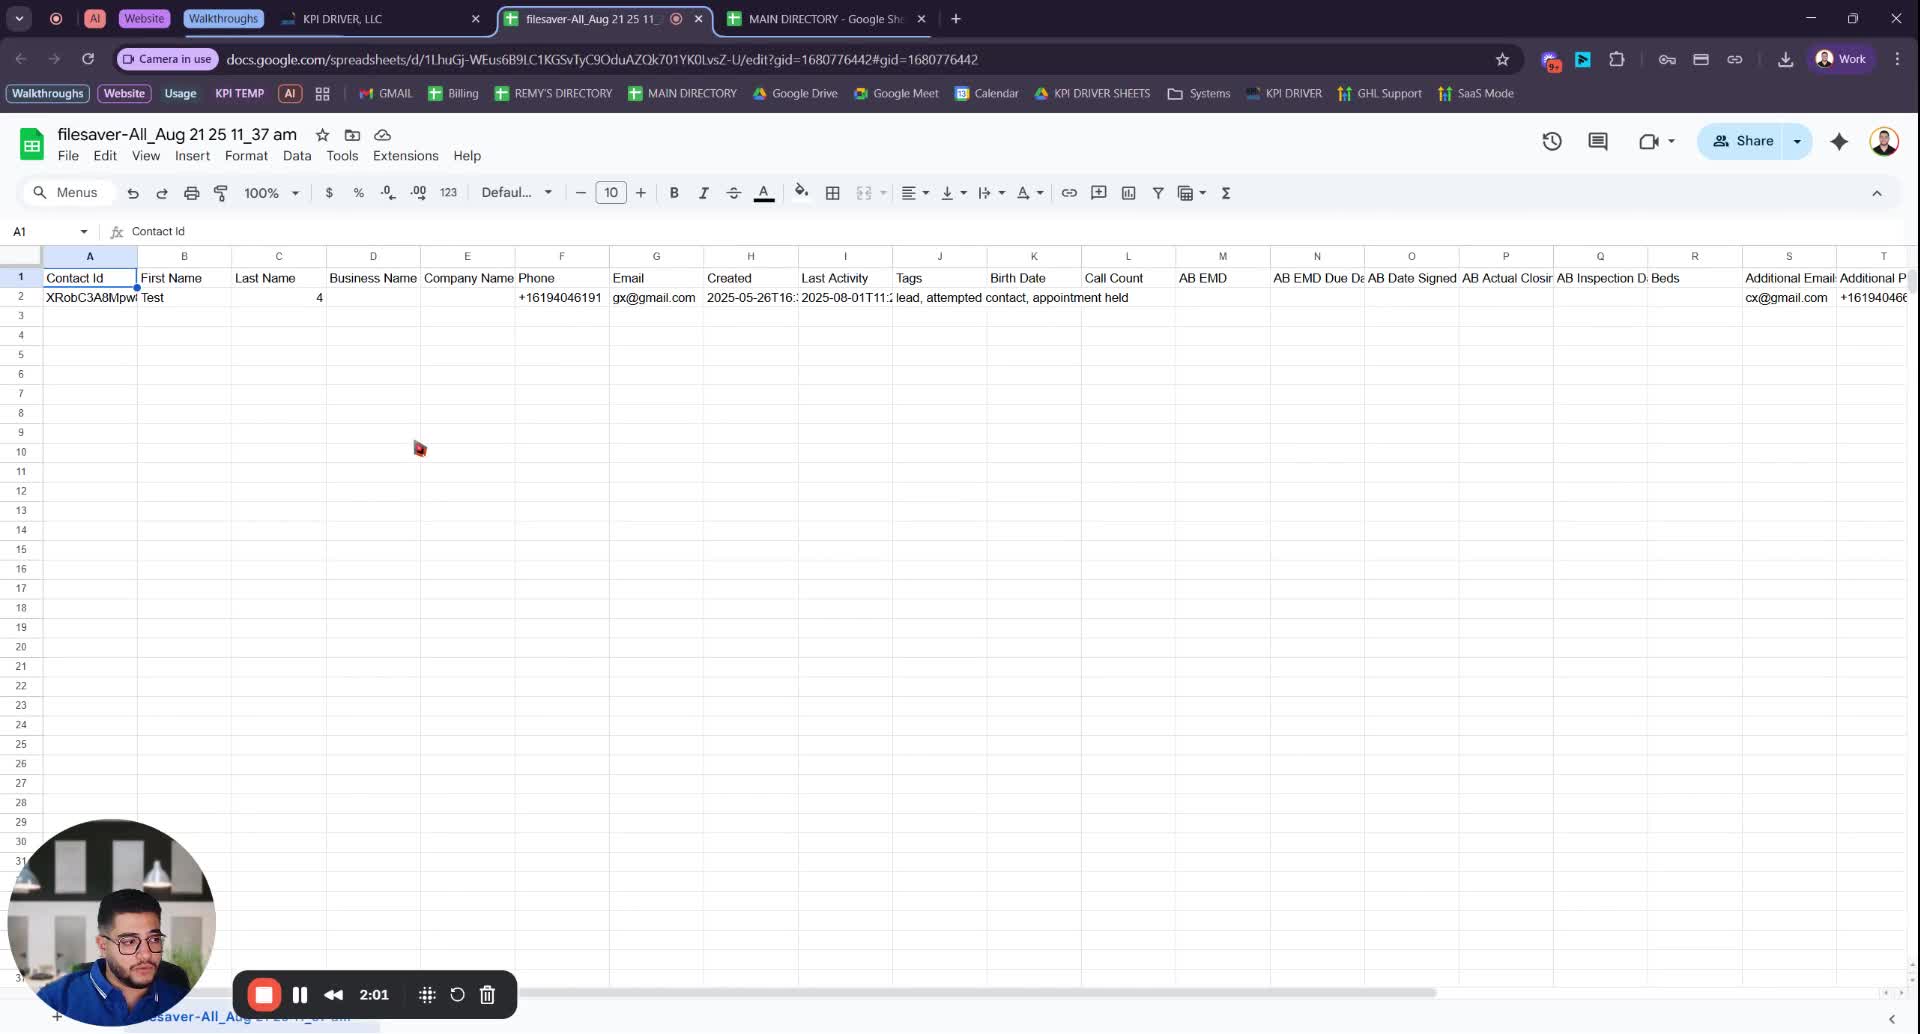
- Open the exported CSV file.
- Check for empty fields and remove them if they are not being used.
Step 6: Prepare for Call 3:03
- Send the cleaned CSV file to the relevant team member prior to the scheduled call.
- Ensure that the file is ready for matching with the fields in the new system.
Step 7: Match Fields During Call 3:12
- During the call, match the fields from your CSV with the fields in the new system.
- Discuss any fields that do not match and decide whether to add or keep them.
Step 8: Finalize Data Migration 4:16
- Confirm any changes to fields and ensure that no necessary fields are deleted without prior discussion.
Cautionary Notes
- Do not delete any fields from the new system without consulting the team, as they may be linked to automations and workflows.
- Ensure that all important data is retained before proceeding with the migration.
Tips for Efficiency
- Regularly back up your data before making any changes.
- Schedule the call promptly after sending the CSV to ensure timely migration.
- Keep a checklist of fields that are critical to your operations to streamline the matching process.
Link to Loom
https://loom.com/share/6197d96d32184c1c9bfa3b6512aff111
Articles
Other Related Articles
FAQ
FAQ
What makes KPI DRIVER different from other real estate CRMs?
Do I need separate systems for document signatures, dispo, or rentals?
How long does it take to migrate my CRM to KPI DRIVER?
Will KPI DRIVER work if I’m new to real estate or don’t have a CRM yet?
Is the KPI Dashboard customizable?
How does KPI DRIVER help me scale my business?
Do you offer support or training?
How many leads, calls, and deals can KPI DRIVER handle?
How much does KPI DRIVER cost?

@KPI DRIVER LLC 2025. All Rights Reserved.
Design and developed by YAVACADO