
Power Dialer / Manual Actions 📞 💬
In this video, I walk you through the new manual actions feature that allows for more efficient dialing through our smart lists. We have two tags: the instant dialer for immediate actions and another for scheduling actions three days out. It's crucial to let me know if the entire team will be using this feature so we can set up the appropriate workflows for each member. I demonstrate how to add these tags and manage calls effectively, emphasizing the importance of filtering by name for personalized usage. Please make sure to provide feedback on your team's needs regarding this feature.
Standard Operating Procedure for Using the Instant Dialer
Objective
This SOP outlines the steps for utilizing the Instant Dialer feature to streamline manual calling processes for team members.
Key Steps
1. Accessing the Dialer 0:16
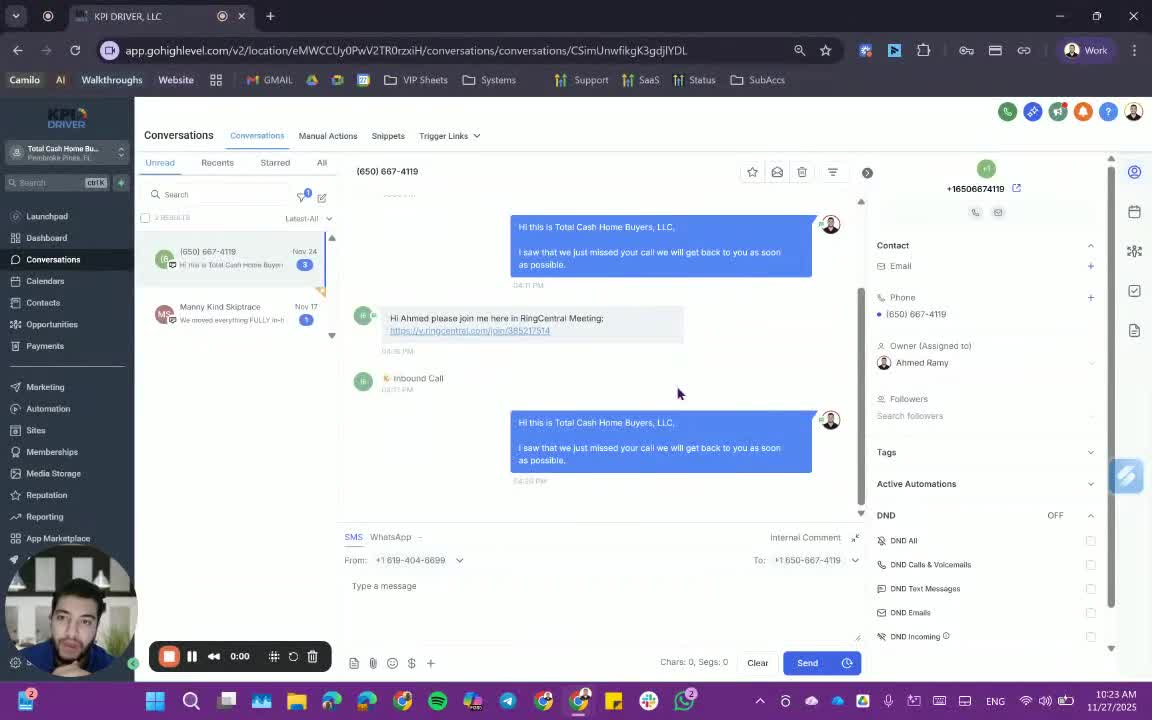
- Begin by accessing your smart list.
- Instead of manually clicking through contacts, prepare to use the dialer.
2. Understanding Dialer Tags 1:14

- There are two tags to be aware of:
- Instant Dialer: Allows immediate action on the contact.
- Delayed Dialer: Sets the action for three days later.
3. Tagging Contacts 2:12
- Ensure each team member has access to both tags.
- When a tag is applied to a contact, it will be removed automatically after the action is initiated.
4. Setting Up Team-Specific Dialers 2:48
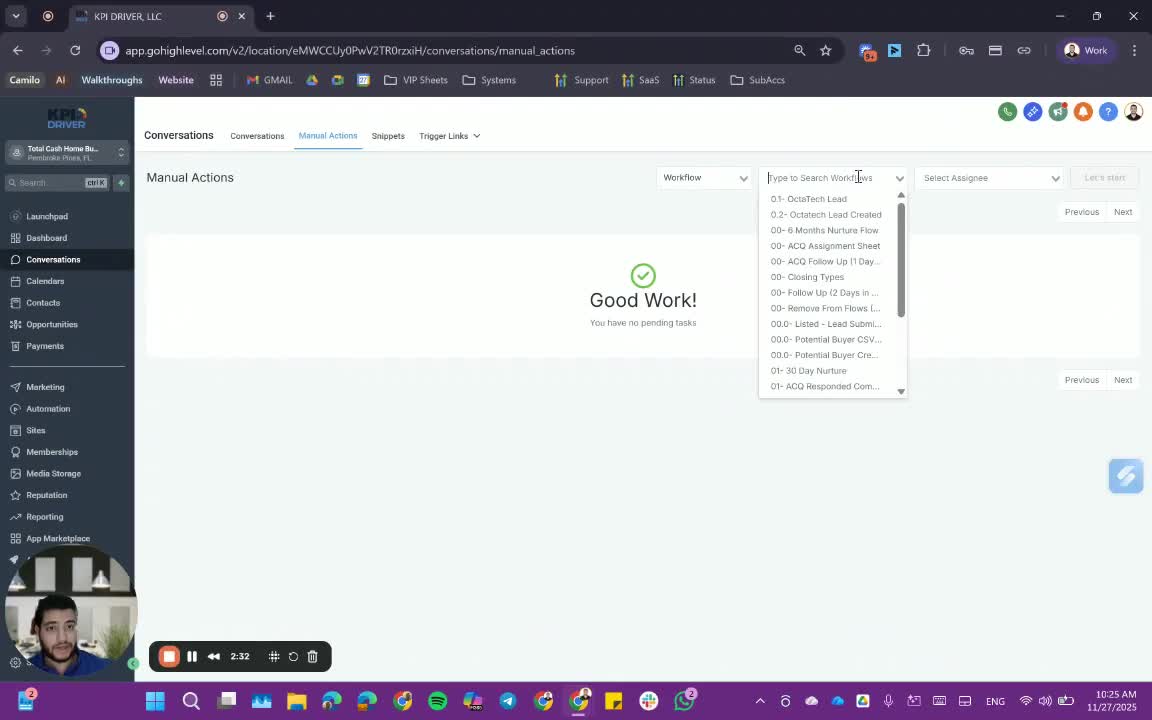
- If the entire team is using the dialer, create individual workflows for each member (e.g., 'Instant Dialer John Doe').
- This allows for easy filtering by name.
5. Adding Tags to Contacts 3:10
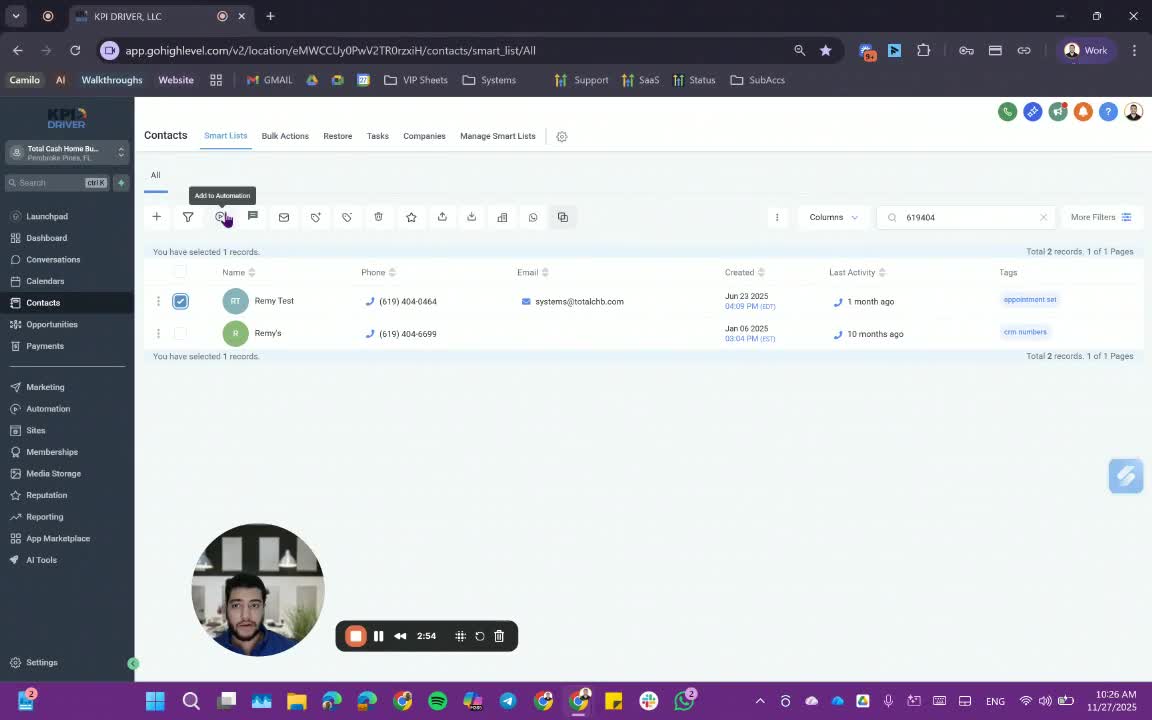
- Search for the contact number you wish to call.
- Apply the appropriate tag (e.g., 'Instant Dialer Remy').
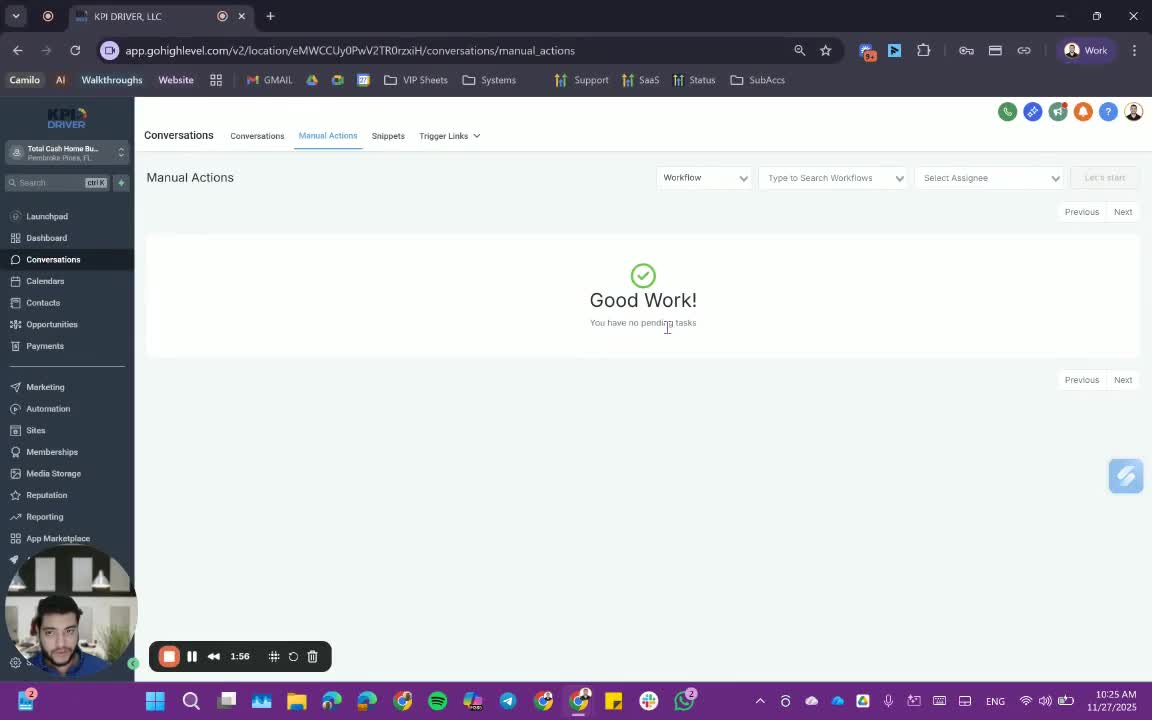
6. Accessing Manual Actions 4:27
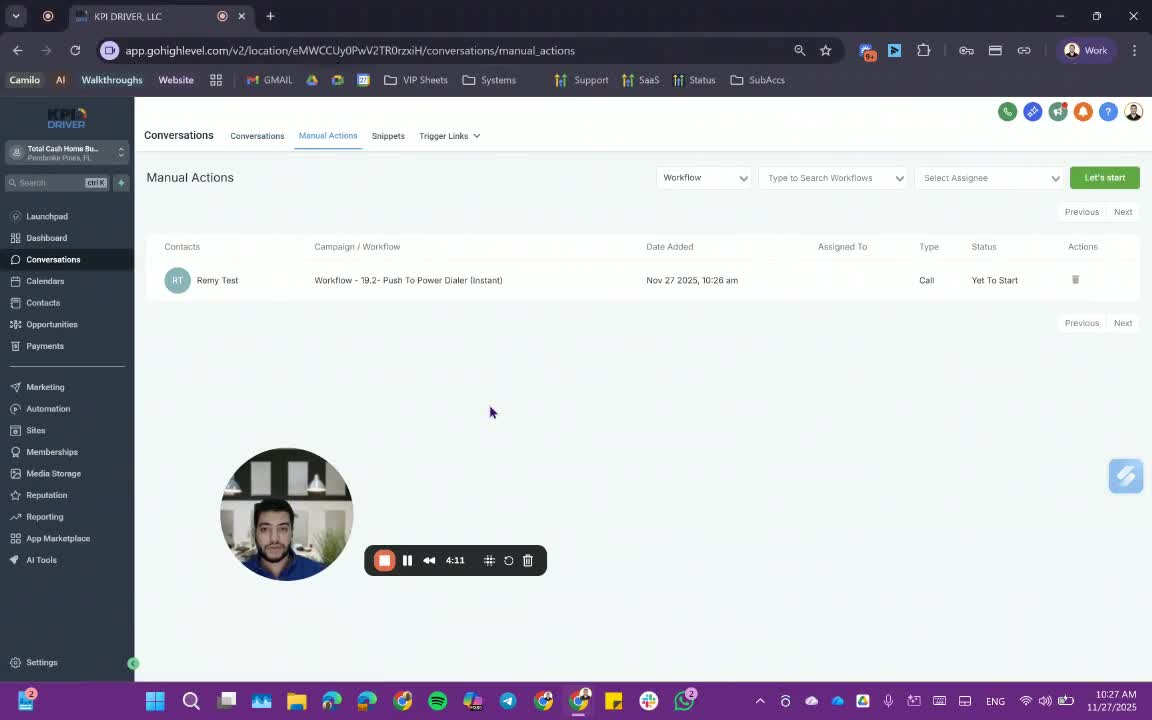
- Navigate to the manual actions section to see the tagged contacts ready for dialing.
7. Filtering Contacts 6:02
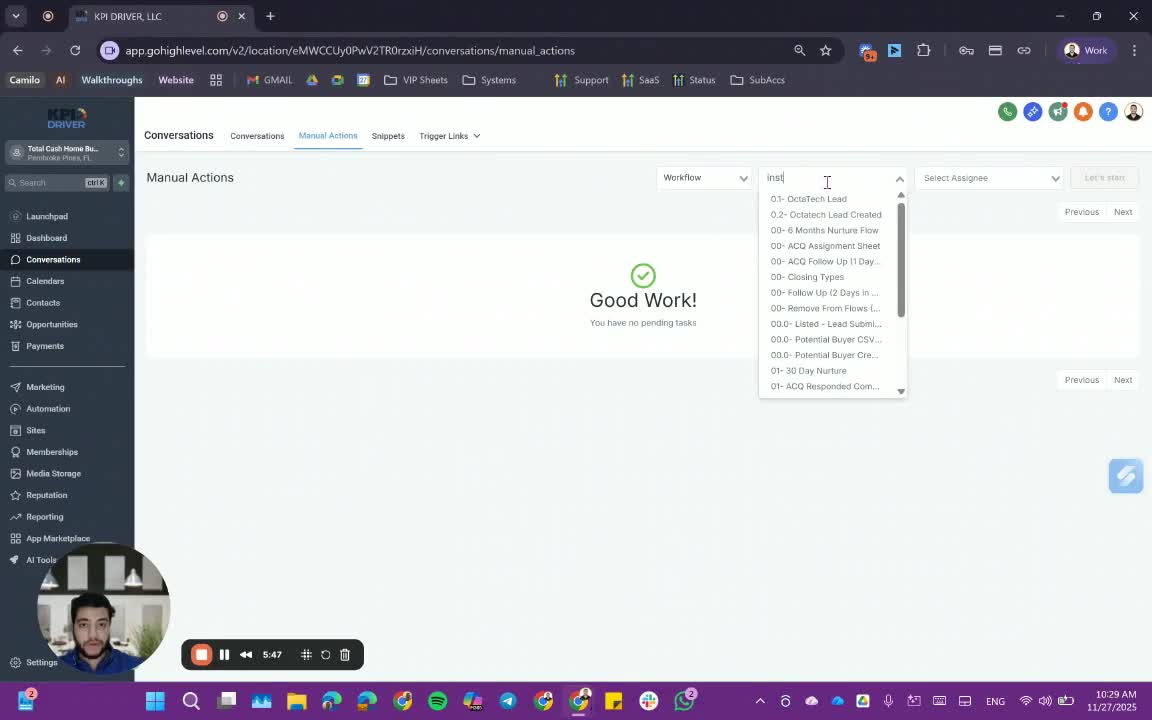
- Use the filter option to find your specific tagged contacts quickly.
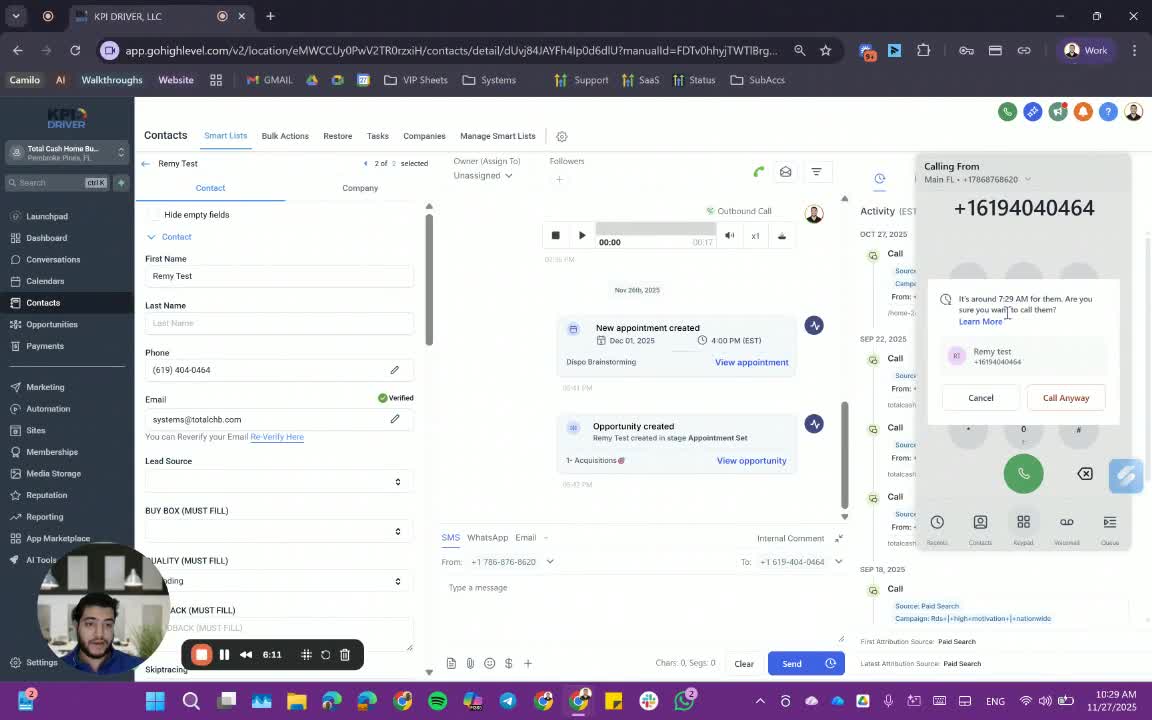
8. Initiating Calls 6:26
- Click 'Let's Start' to begin calling.
- Review the time zone information before proceeding.
9. Logging Call Outcomes 7:04
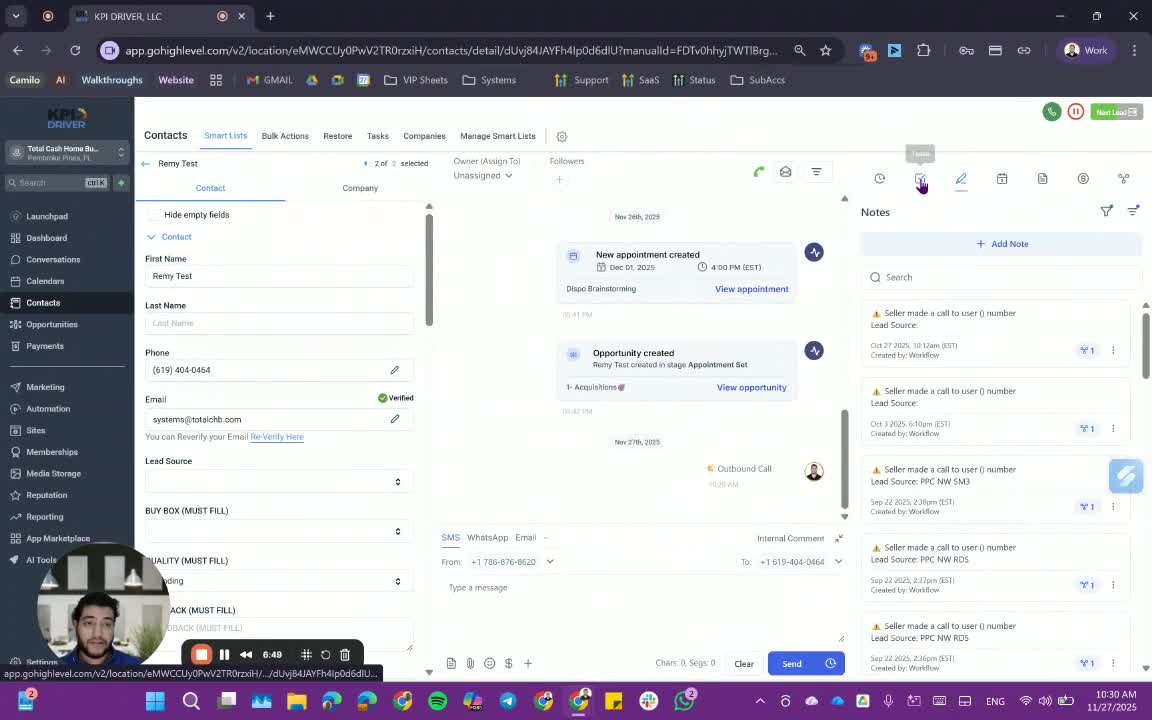
- After each call, log the outcome (e.g., 'No answer').
- Use the 'Next Lead' button to continue dialing.
10. Completing the Dialing Session 8:02
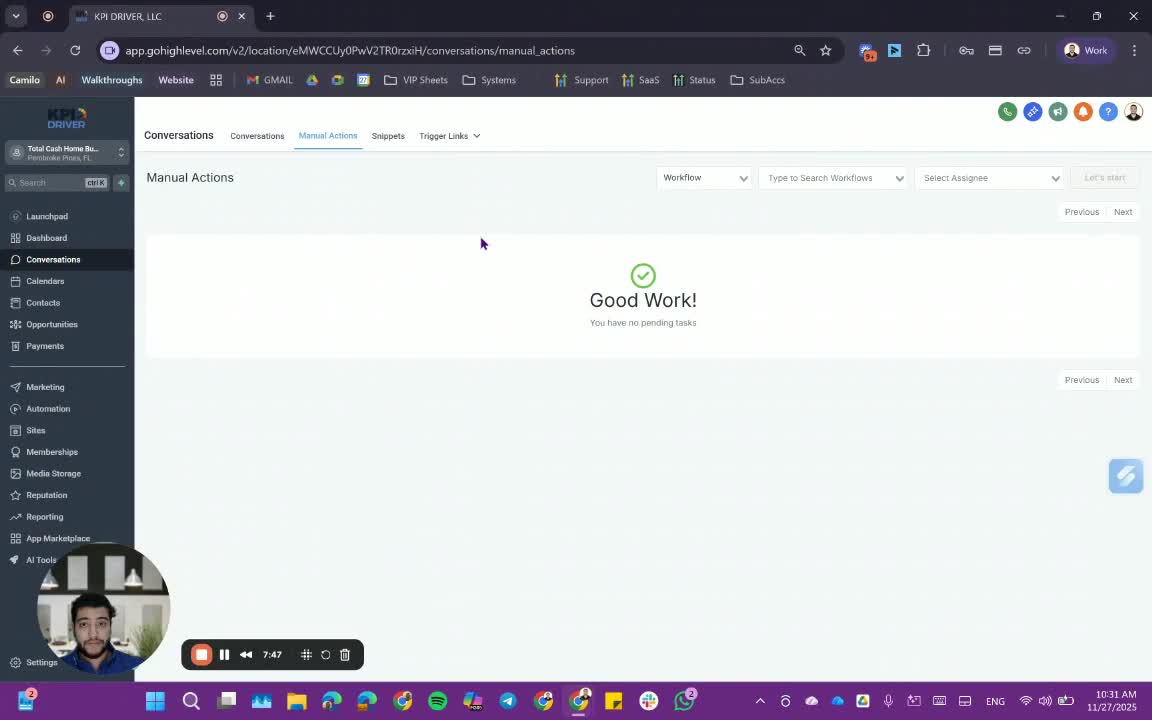
- Once all calls are completed, the system will prompt you to return to manual actions.
Cautionary Notes
- Ensure that the correct tag is applied to avoid confusion.
- Be mindful of time zones when calling contacts.
Tips for Efficiency
- Regularly check and update your smart list to ensure you are calling the most relevant contacts.
- Familiarize yourself with the tagging system to speed up the process.
Link to Loom
https://loom.com/share/902c7c393cad454d9b50e0b542e9c6b5
Articles
Other Related Articles
FAQ
FAQ
What makes KPI DRIVER different from other real estate CRMs?
Do I need separate systems for document signatures, dispo, or rentals?
How long does it take to migrate my CRM to KPI DRIVER?
Will KPI DRIVER work if I’m new to real estate or don’t have a CRM yet?
Is the KPI Dashboard customizable?
How does KPI DRIVER help me scale my business?
Do you offer support or training?
How many leads, calls, and deals can KPI DRIVER handle?
How much does KPI DRIVER cost?

@KPI DRIVER LLC 2025. All Rights Reserved.
Design and developed by YAVACADO