
Exporting Contacts/Opportunities 👥 📂
In this video, I discussed how to effectively export contacts using smart lists, emphasizing the importance of customizing the information you want to include in your exports. I demonstrated the process of exporting contacts and opportunities, highlighting the additional columns you can add, such as lead source and opportunity ID. I also explained how these exports can aid in updating and integrating data. Please remember to utilize the contact ID and opportunity ID for any updates you need to make. If you have any specific filters to apply, let me know, and we can explore that in another video.
Exporting Contacts and Opportunities SOP
Objective
This SOP outlines the steps to export contacts and opportunities from the system, ensuring that team members can retrieve the necessary information in a preferred format.
Key Steps
Step 1: Access Smart Lists 0:15
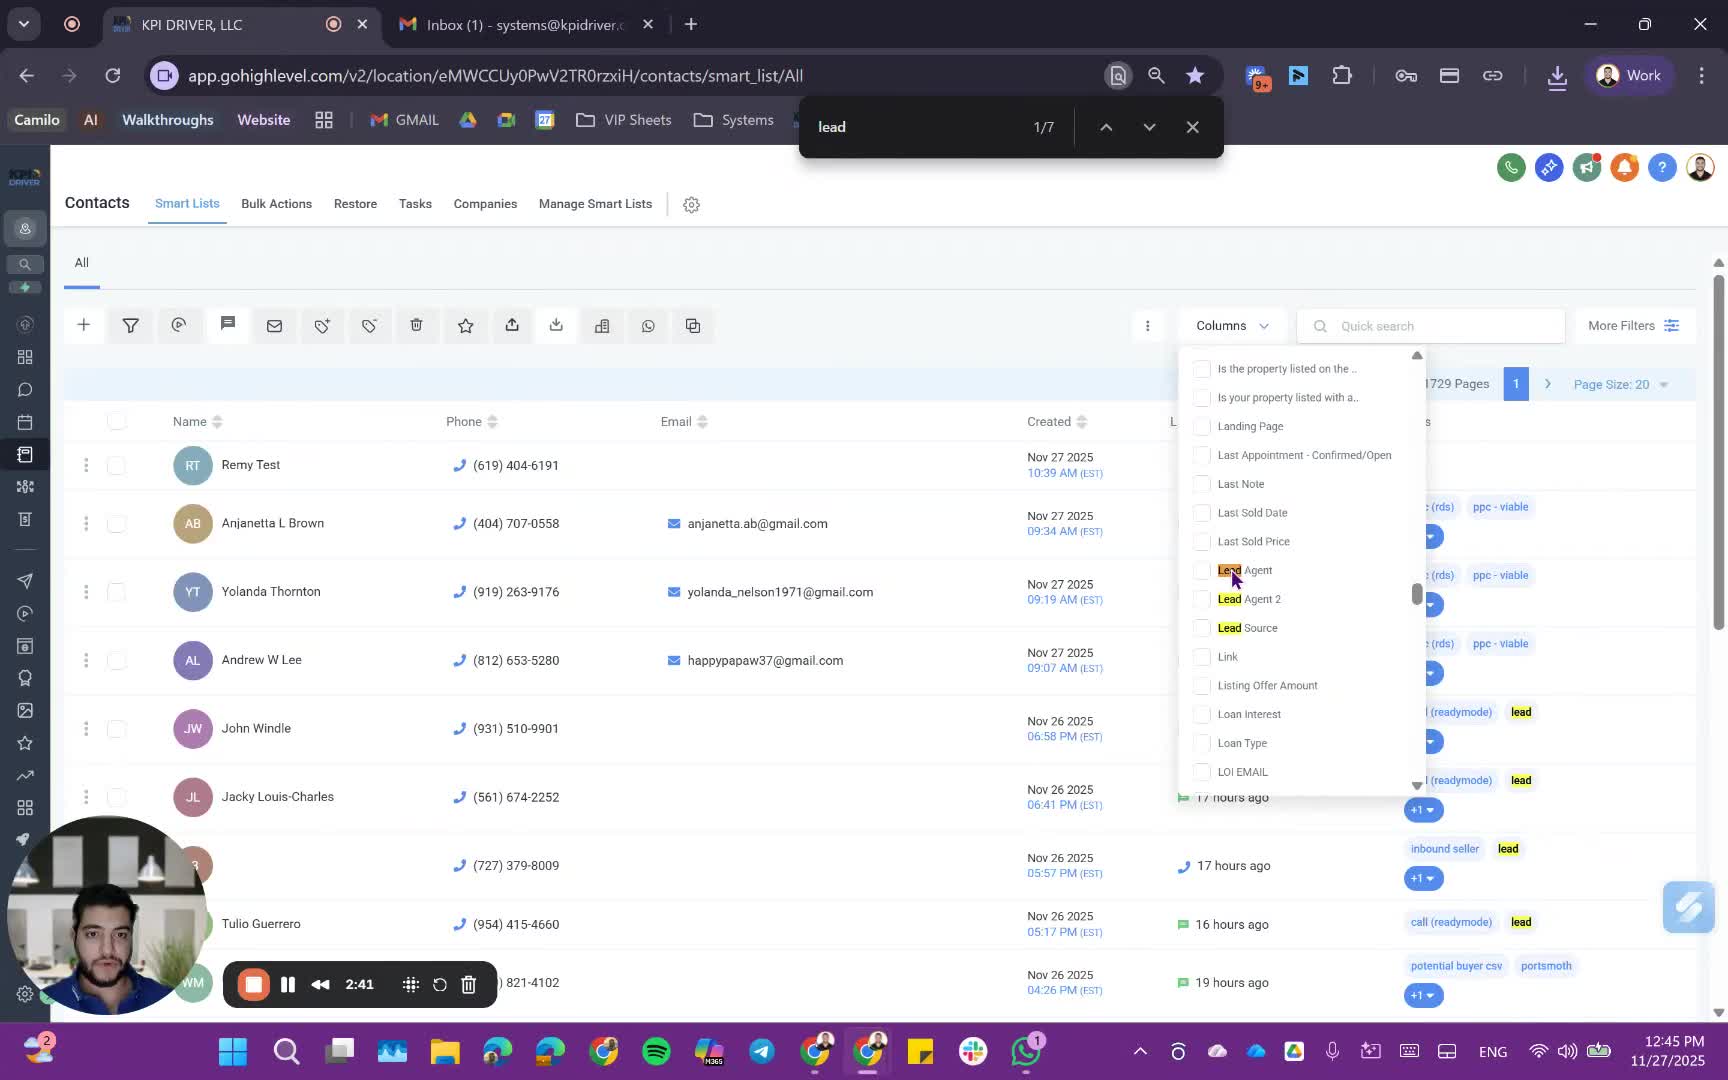
- Modify the default view by adding extra columns for more information.
- Consider adding columns such as lead source or GHL link.
Step 2: Select Contacts to Export 2:45
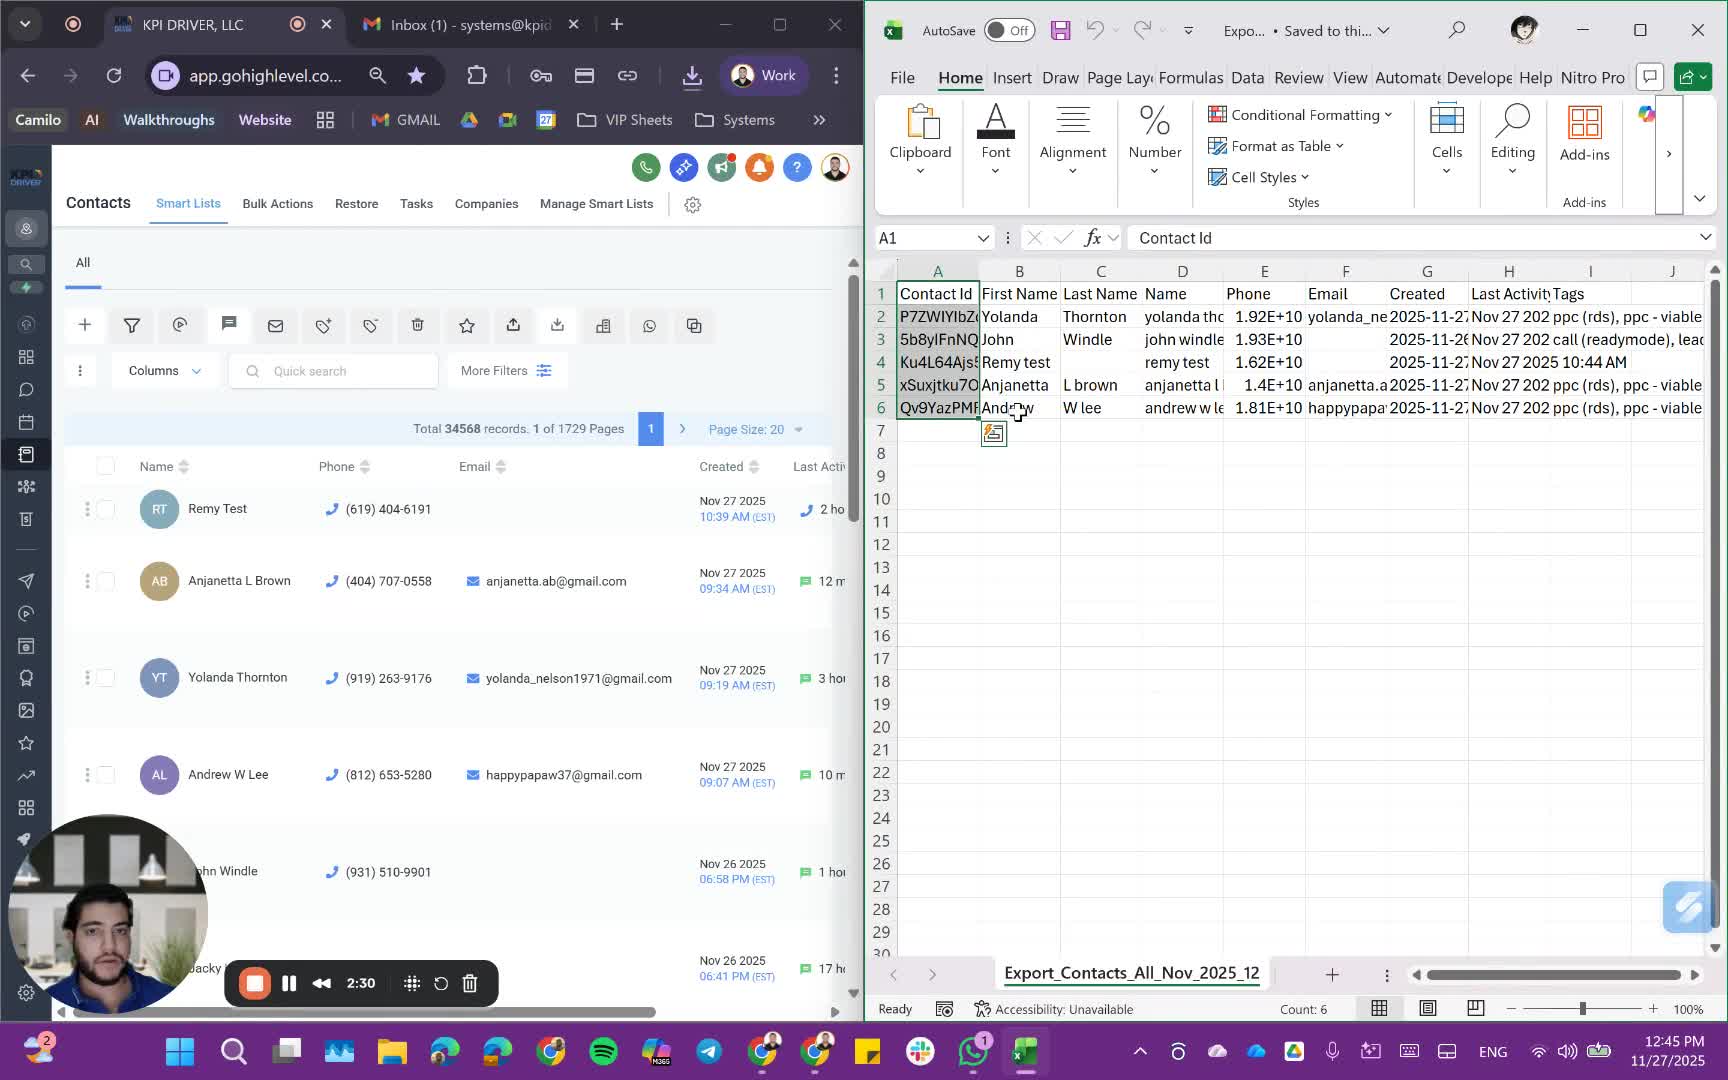
- Highlight the contacts you wish to export.
- Ensure you have selected the correct contacts for your export.
Step 3: Execute Export 2:56
- Click on the export button to initiate the export process.
- Wait for the export to complete.
Step 4: Check Export Status 1:16

- Navigate to the bulk actions section to check the status of your export.
- Confirm that the export is completed.
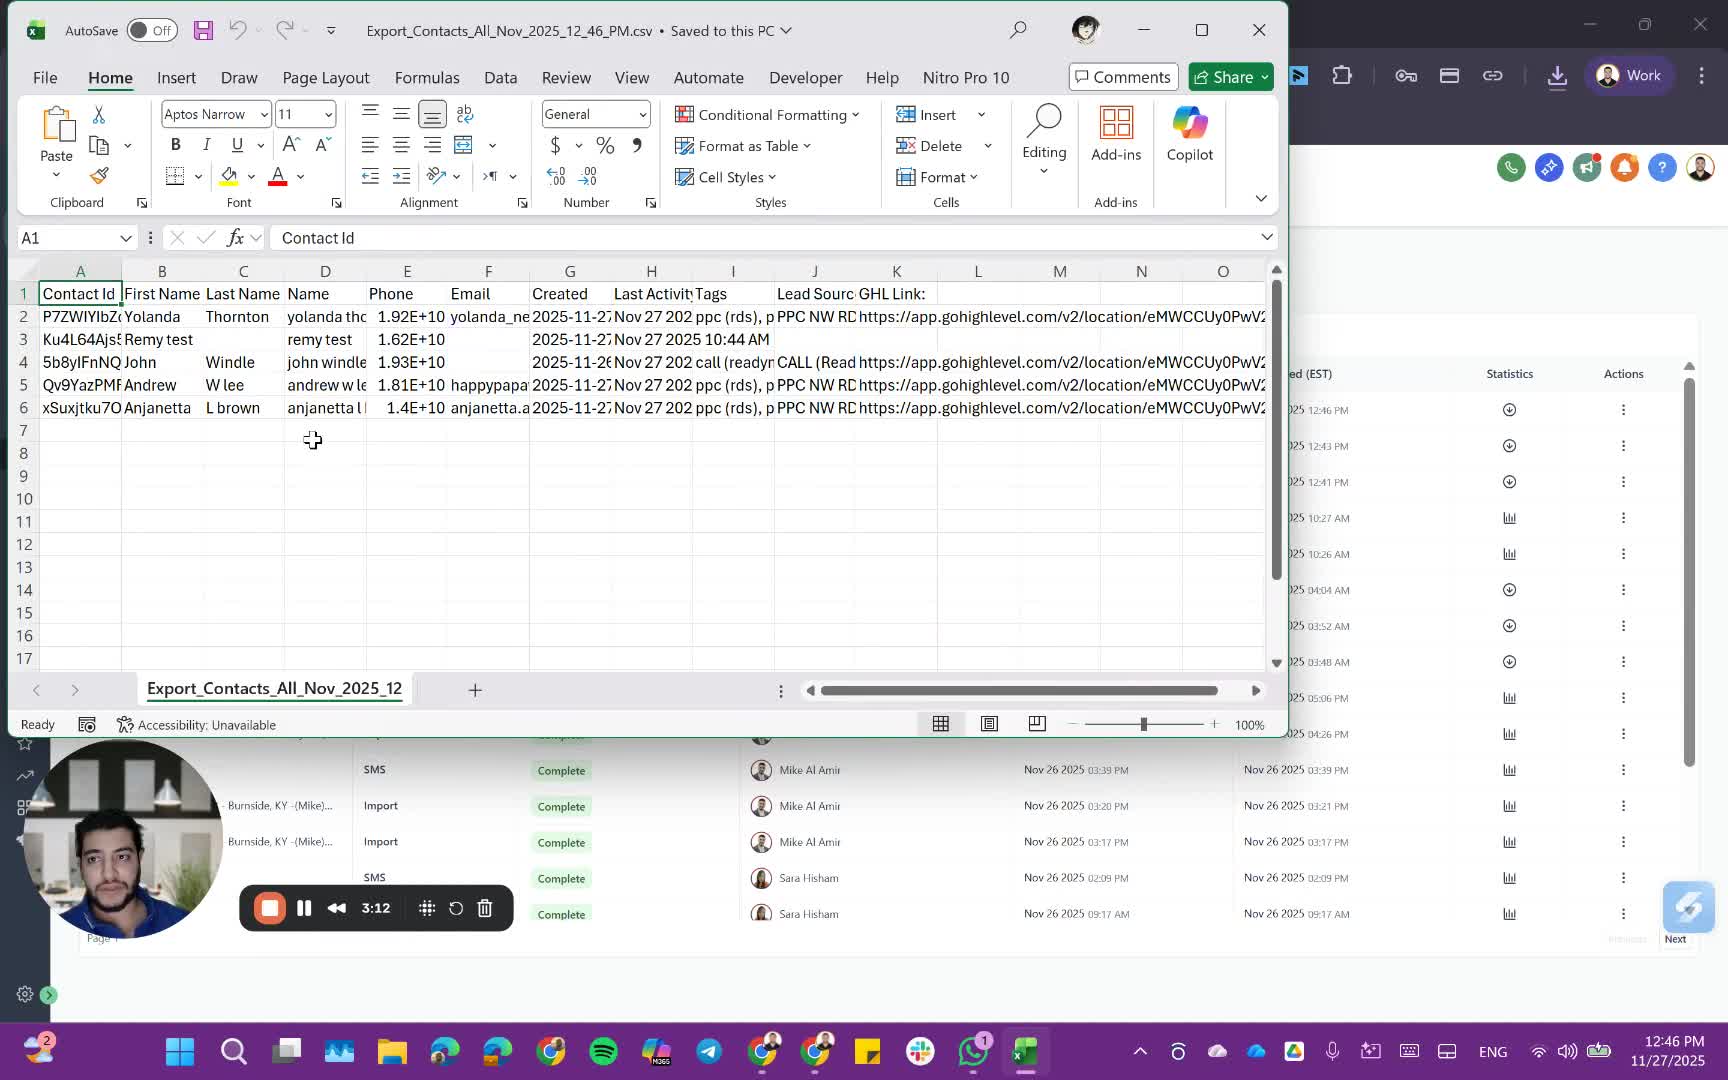
Step 5: Download Exported File 1:31
- Click on the download prompt to retrieve the exported file.
- Open the file to review the exported data.
Step 6: Export Opportunities 3:27
- Follow similar steps to export opportunities as you did for contacts.
- Ensure to select the correct opportunities and apply any necessary filters.
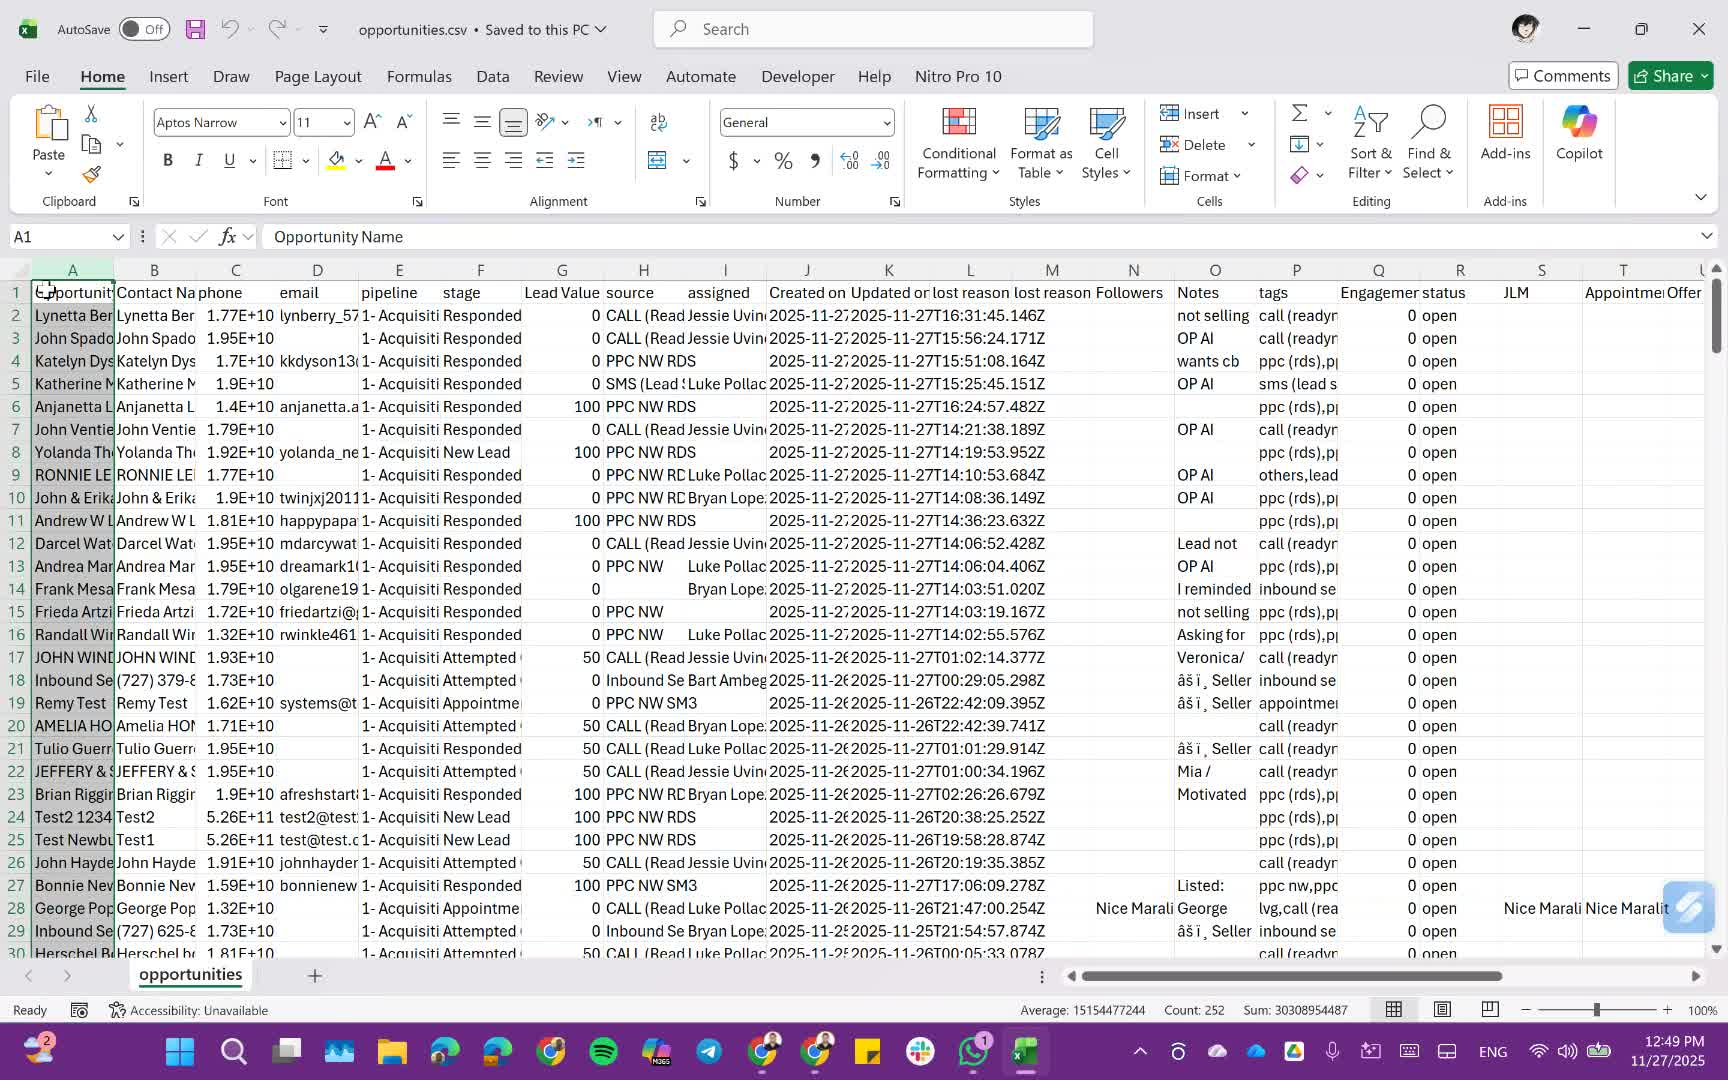
Step 7: Review Exported Opportunity Data 4:42
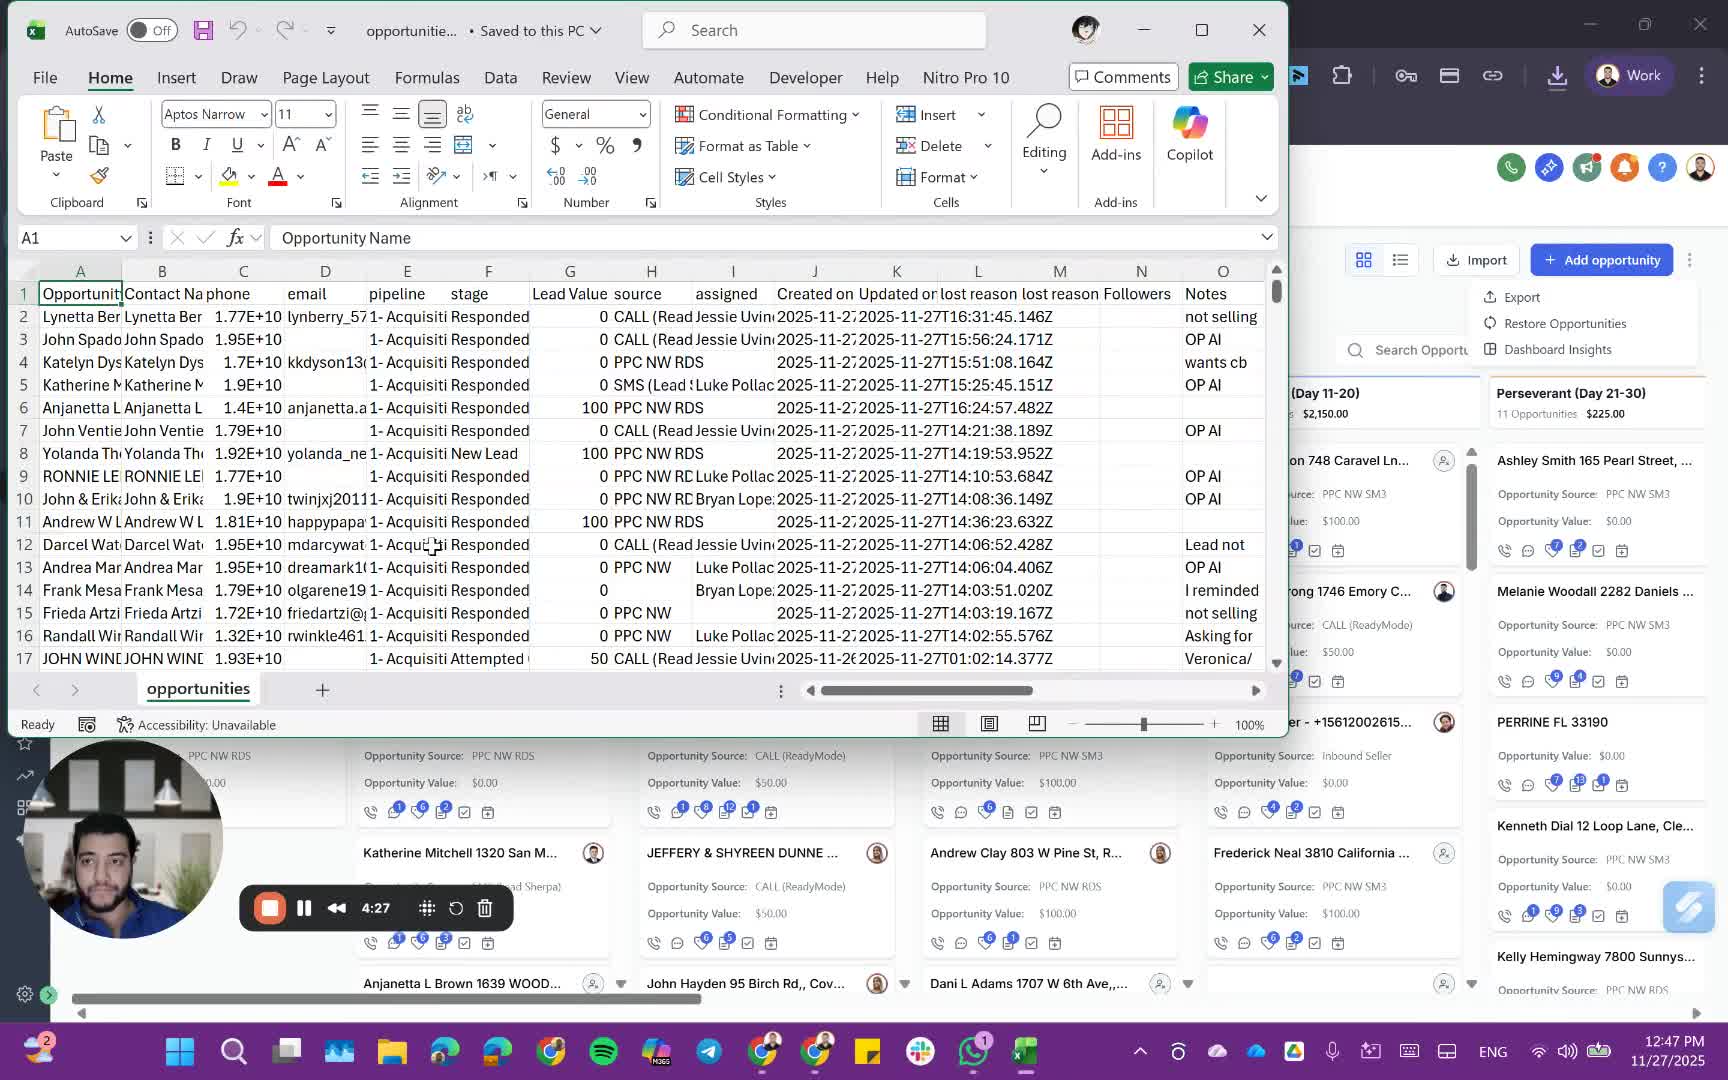
- Open the exported opportunity file to check for relevant information such as opportunity name, contact name, and pipeline details.
Step 8: Update Contacts or Opportunities 5:19
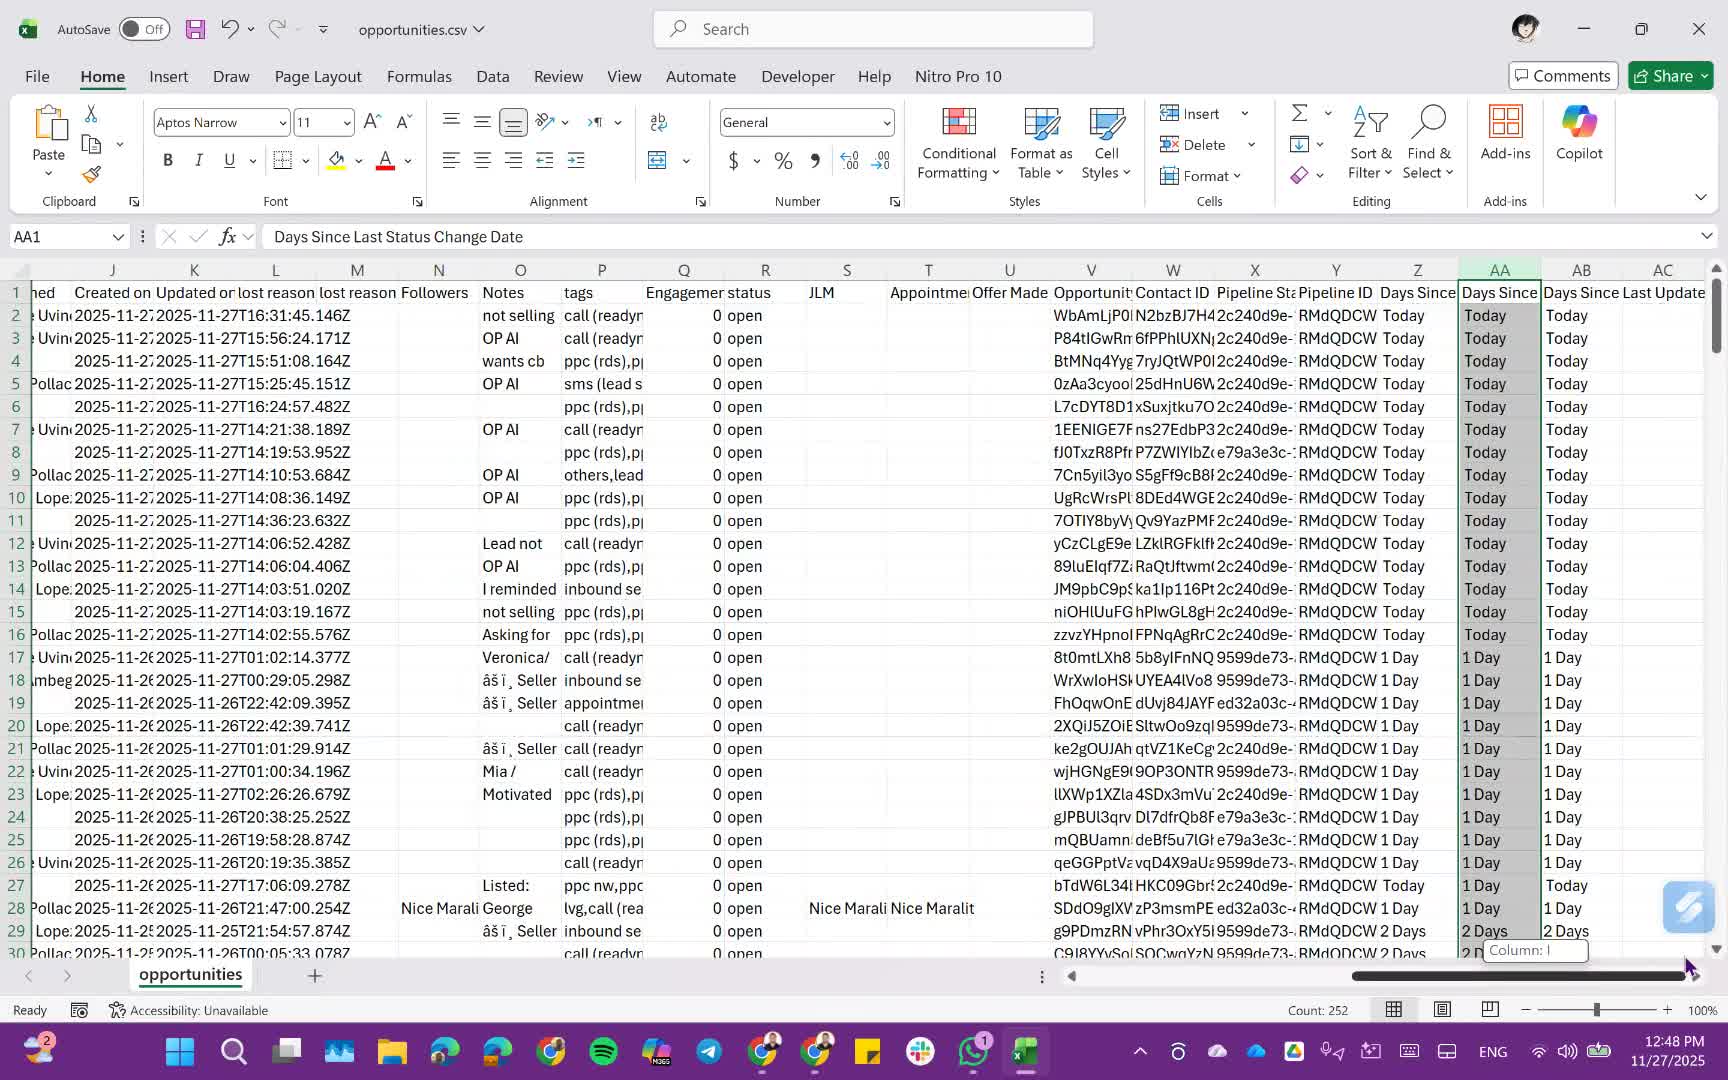
- Use the contact ID or opportunity ID for updating records.
- Prepare to clear unnecessary data and retain only essential columns for updates.
Step 9: Finalize Updates 6:31
- Update the lead values or other necessary fields as required.
- Ensure all updates are accurately reflected in the system.
Cautionary Notes
- Always double-check the selected contacts or opportunities before exporting to avoid errors.
- Ensure that sensitive information is handled according to company policy during exports.
Tips for Efficiency
- Familiarize yourself with the smart lists feature to streamline the export process.
- Regularly update your default view to include the most relevant columns for your work.
Link to Loom
https://loom.com/share/87e2f0b39f8c44e0898951fea0b7a262
Articles
Other Related Articles
FAQ
FAQ
What makes KPI DRIVER different from other real estate CRMs?
Do I need separate systems for document signatures, dispo, or rentals?
How long does it take to migrate my CRM to KPI DRIVER?
Will KPI DRIVER work if I’m new to real estate or don’t have a CRM yet?
Is the KPI Dashboard customizable?
How does KPI DRIVER help me scale my business?
Do you offer support or training?
How many leads, calls, and deals can KPI DRIVER handle?
How much does KPI DRIVER cost?

@KPI DRIVER LLC 2025. All Rights Reserved.
Design and developed by YAVACADO